

Introduction
Cloud DLP helps meet compliance requirements by enabling the understanding and management of critical data, including sensitive information and personally identifiable information (PII). It prevents disclosure of sensitive data like credit card numbers, names, social security numbers, and GCP credentials through scalable and efficient information classification and redaction. Cloud DLP scans storage buckets, folders, and objects to ensure security compliance. Additionally, cloud security engineers utilize various data security methods to protect sensitive data, and the DLP API in Google Cloud grants access to a detection engine for PII and sensitive data. Cloud DLP offers rapid redaction of highly sensitive data such as credit card numbers, phone numbers, and passport numbers.
Lab Objective
The objective of this lab is to showcase the process of setting up Cloud DLP, creating an IAM service account, and performing sensitive information inspection on a string.
Disclaimer
Please note that the GCP management console is subject to change over time. While the instructions provided are accurate at the time of writing, there may be updates or modifications to the console's interface or functionality. It is advisable to refer to the official GCP documentation for the most up-to-date and accurate information regarding the GCP management console.
Lab Tasks
NB: You should have created a GCP Free Trial account before starting this lab.
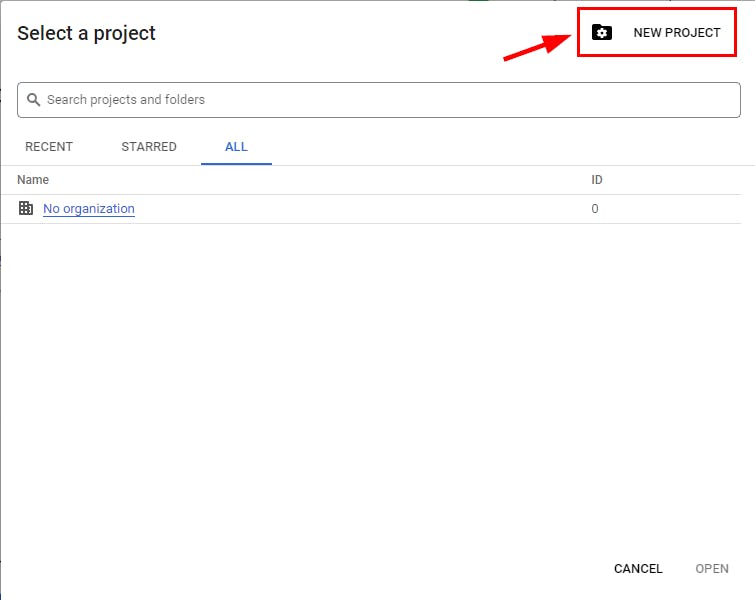
- Sign in to your GCP management console and click on “Select a project” at the top left of your screen. A dialogue box pops-up

- On the dialogue box, click on “NEW PROJECT” at the top right of the box.
- Give a project name of your choice (in this lab, DLP -Project)and click on the Create “button”

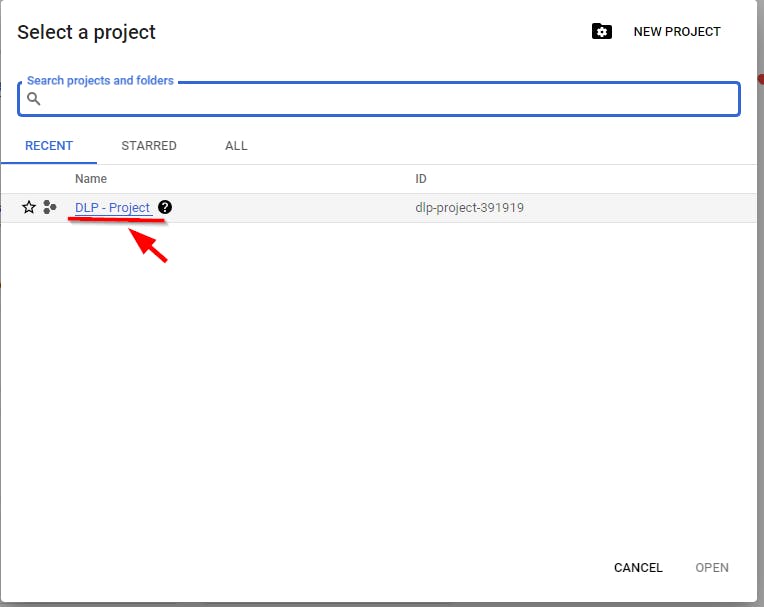
- Once done, click on “Select a project” and click on the project name you just created.
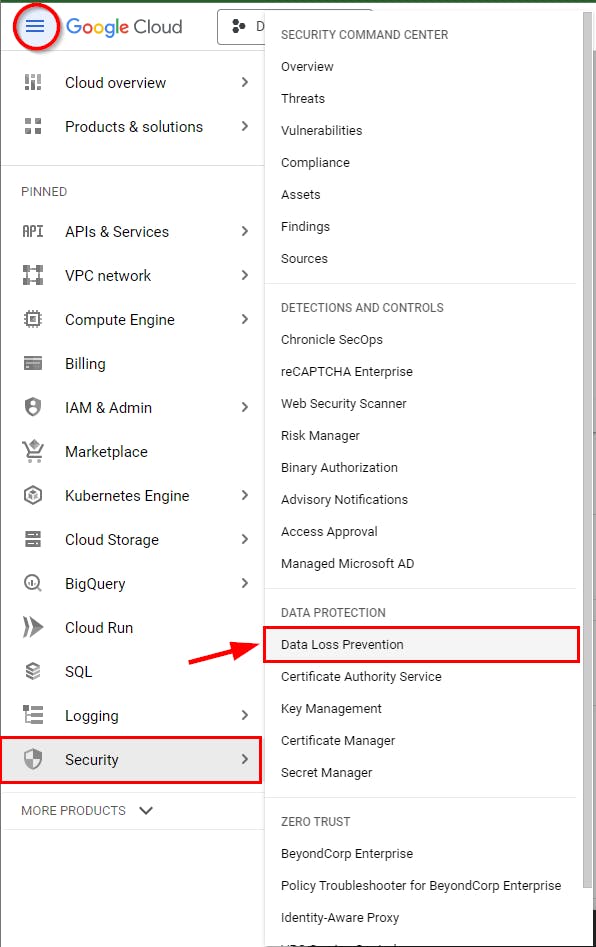
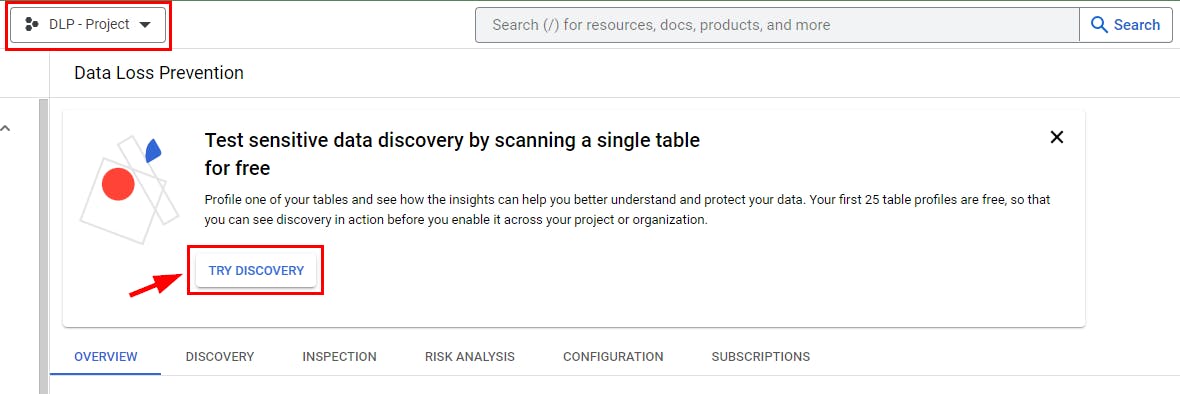
- Now, enable the Cloud DLP API for the project name “DLP-Project”. Navigate to Security on the left menu and select Data Loss Prevention.
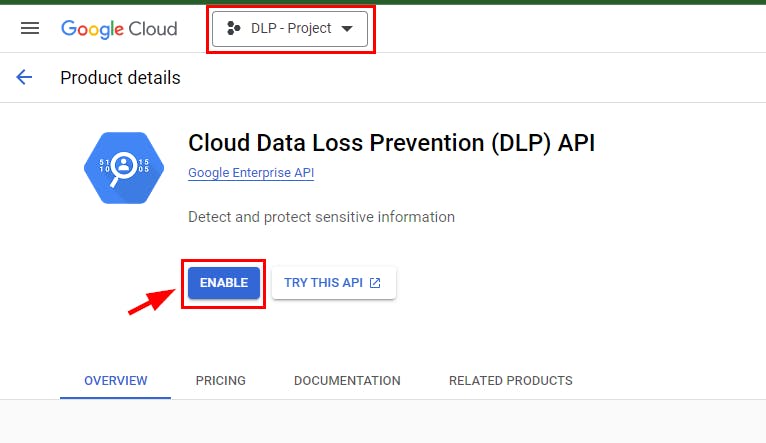
- On the DLP page, click on TRY DISCOVERY, which will redirect you to the Product details page. Click on ENABLE to enable the Cloud DLP API then wait for it to be enabled.
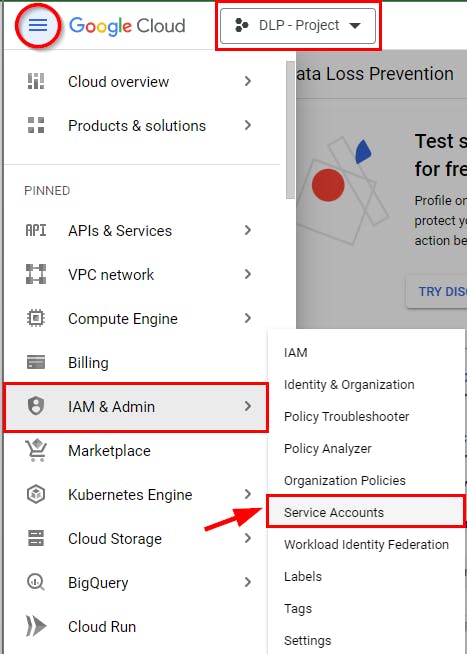
- Next, to set up an IAM service account for authentication, navigate to the console's IAM & Admin section and choose Service Accounts.
- Now, to create the service account for Cloud DLP, click on +CREATE SERVICE ACCOUNT at the top of the Service Accounts window.

- On the Create service account page, under the Service account name, give it a name (d3m0-service) and click on Create AND Continue.

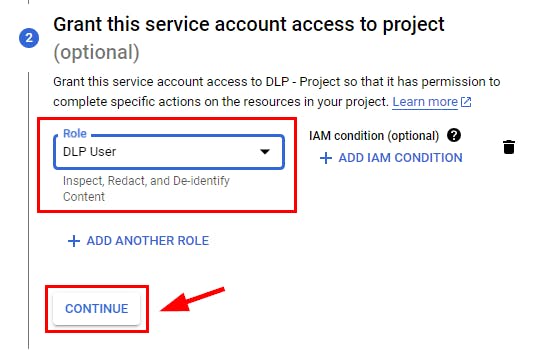
- Next, to Grant this service account access to the project, click on the Select a role drop-down menu, scroll down to the bottom to Cloud DLP, and select DLP User as the role. Click on Continue.

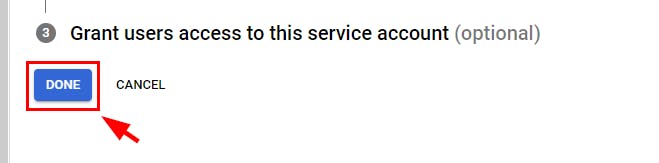
- Retain the other settings and click on DONE to create the service account
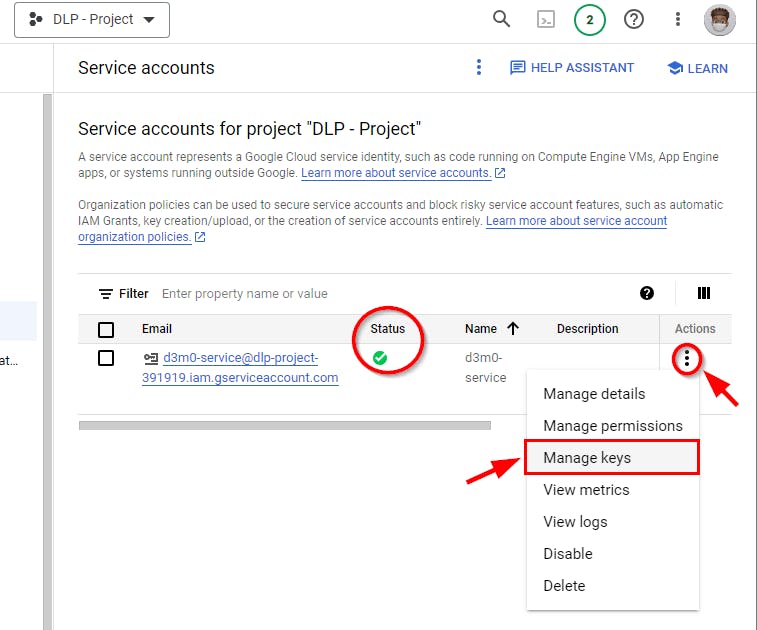
- Service accounts for the project "DLP - Project" is successfully created with the status marked green. To create keys for the service accounts, click on the ellipsis (three dots) located on the right side of the recently generated service account, and then choose the option "Manage Keys.”
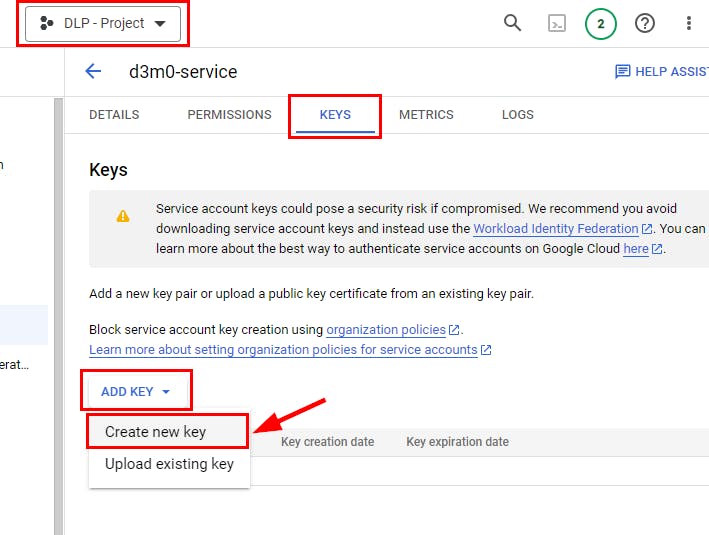
- Click on the "ADD KEY" button in the Keys window, and then choose the option to create a new key.
- A pop-up window shows Create a private key for the Key type. Here, select JSON and click on CREATE.
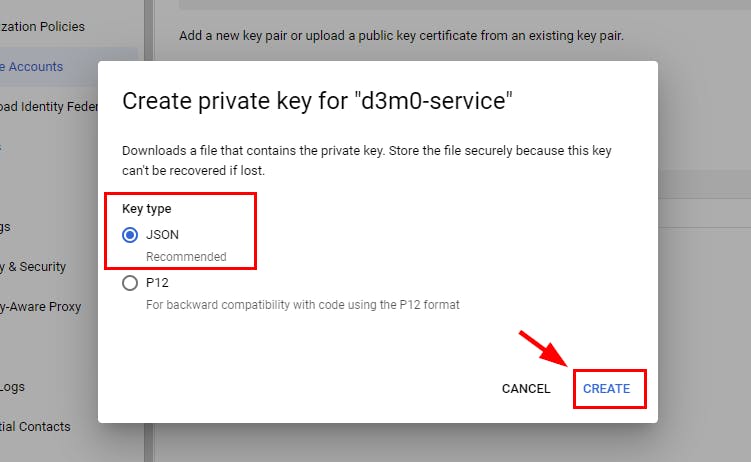
- A private key will be downloaded to your local machine.


A pop-up box appears to download the DLP API (JSON) files, click Save to download the dependencies.
- Click on the Cloud Shell icon at the top right corner of the GCP console, or it will automatically open once the JSON file finishes downloading.
Click on AUTHORIZE if promoted from the cloud shell
- To open Cloud Shell in a new window, click on the Open in new window icon at the top right corner of the Cloud Shell terminal.

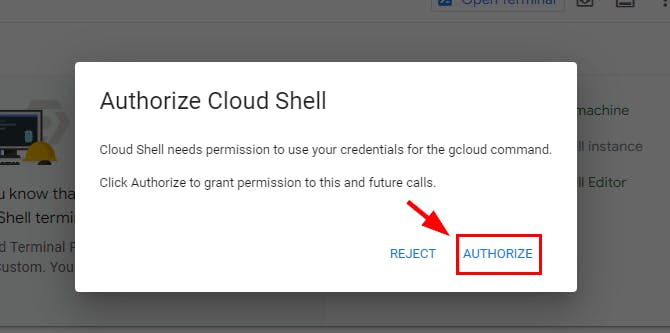
Note: If a window pops up for Authorize Cloud Shell, click on Authorize.
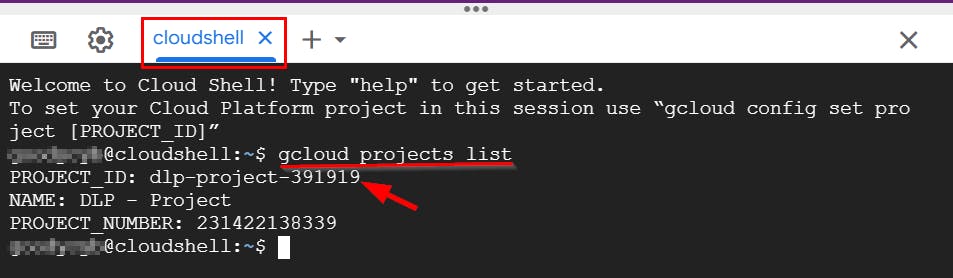
NOTE: On your cloud shell, ensure the default project-ID set if not, use the following commands to do so.
# use this command to list the project IDs available
gcloud projects list
# Command to set project ID
gcloud config set project [PROJECT_ID]

# replace [PROJECT_ID] with your project ID
In this lab, the project ID for the default project is dlp-project-391919
gcloud config set project dlp-project-391919

The project ID has been successfully set.
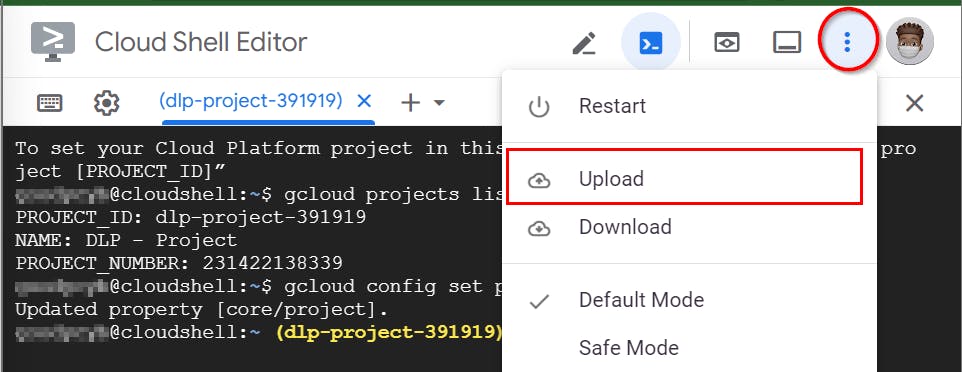
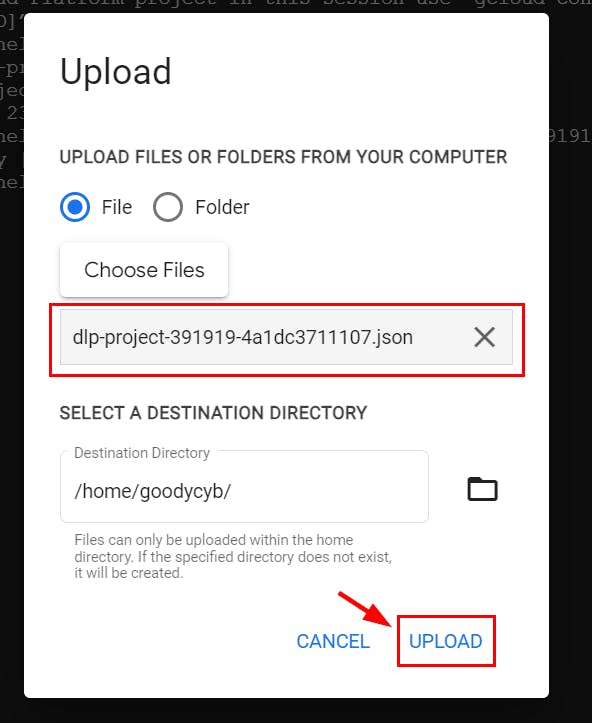
- Next, click on the ellipsis located at the top right corner of the Cloud Shell terminal to upload the JSON private key file you previously created. Afterward, choose the "Upload" option, followed by "File." Finally, click on "Choose Files" to proceed with the file upload.
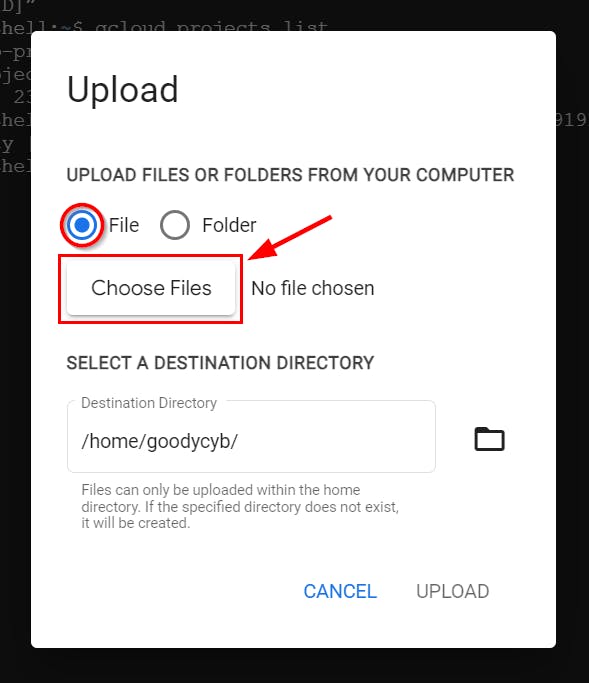
- on the pop-up dialogue box, click on “Choose Files,” select the JSON file from your local machine and click Upload
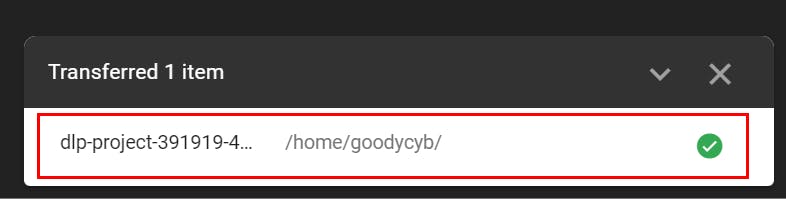
- Once done, you will get a message as shown below
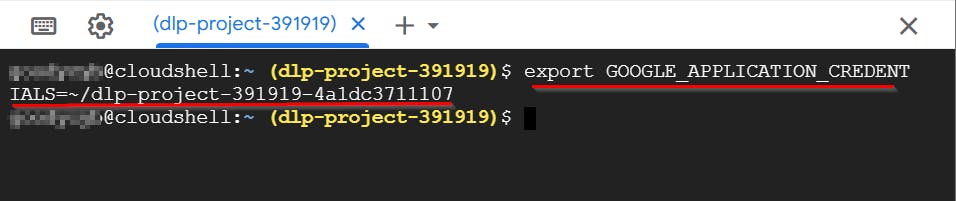
- To set the environment variable that points to the uploaded JSON file, execute the following command and press Enter.
export GOOGLE_APPLICATION_CREDENTIALS=~/< name of JSON file>
# Note: Replace the < name of JSON file> with the name of your JSON file.
# Command ran in this lab:
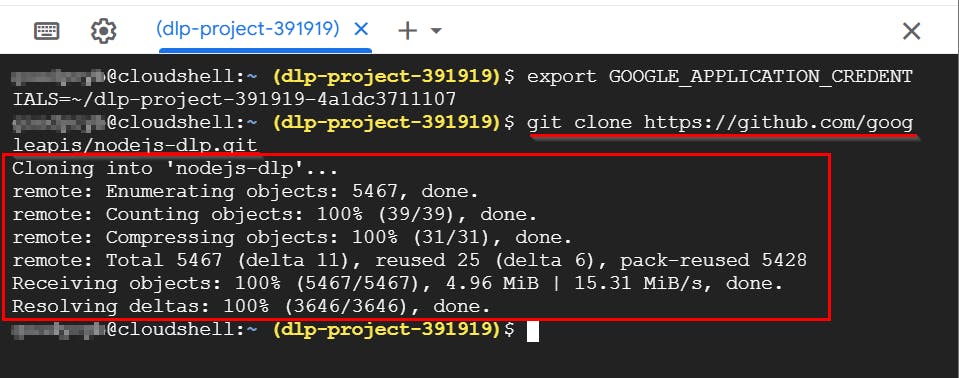
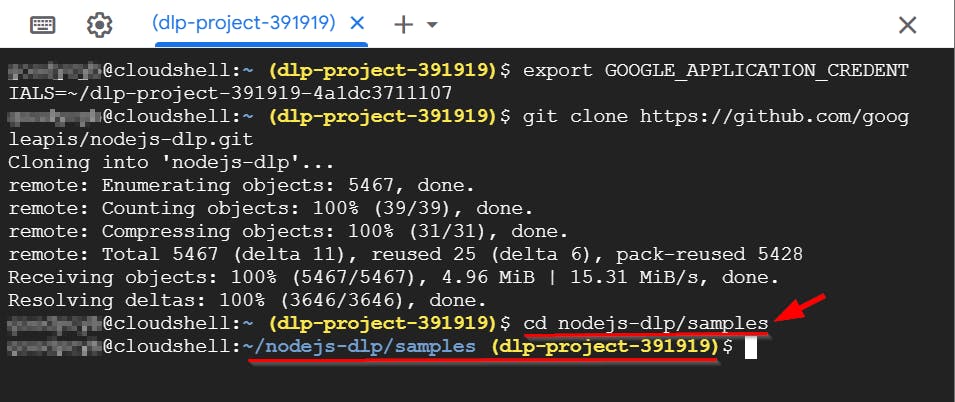
export GOOGLE_APPLICATION_CREDENTIALS=~/dlp-project-391919-4a1dc3711107
- Next, to download the DLP API files, clone the NODE JS DLP repository by typing the following command and pressing Enter.
git clone https://github.com/googleapis/nodejs-dlp.git
- Now, to access the directory for nodejs-dlp/samples, enter the following command and press Enter:
cd nodejs-dlp/samples
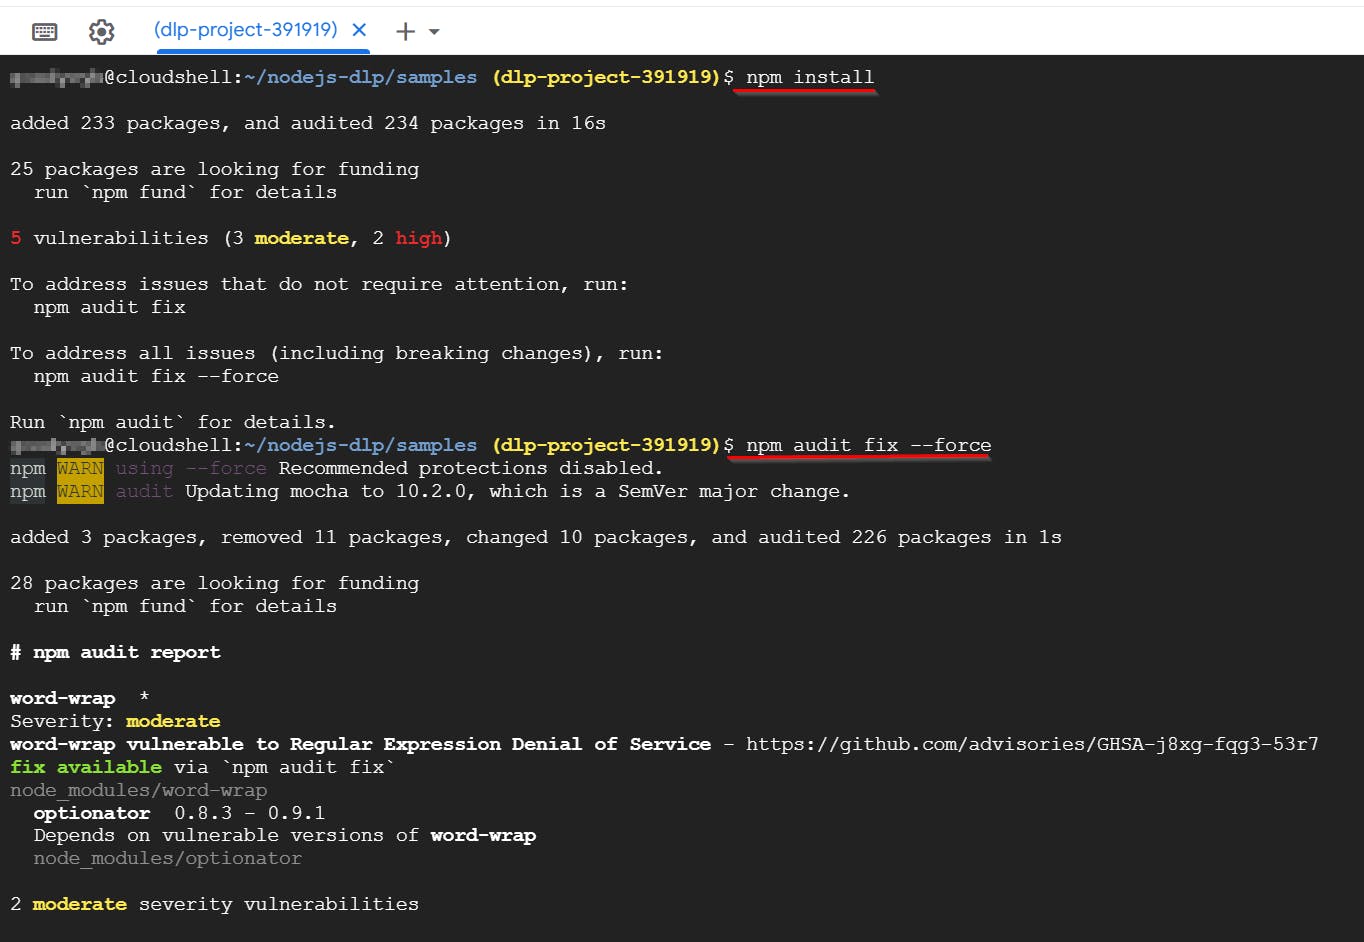
- Next, to install the dependencies, type the following command and press Enter.
#Run this comamnd first
npm install

# if you encounter any issue, use the command
npm audit fix --force #or
npm audit fix
Use the clear command to clear screen or Ctrl + L
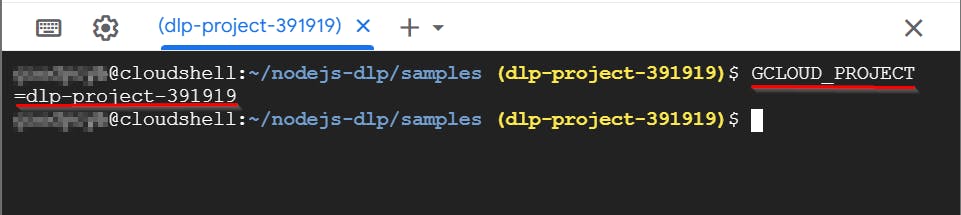
- To set the environment variable GCLOUD_PROJECT to the GCP Project ID, enter the following command and press Enter
GCLOUD_PROJECT=< PROJECT_ID>
# (replace < PROJECT_ID> with your project ID)

GCLOUD_PROJECT=dlp-project-391919
- You can now inspect a string of data for sensitive information. Start by inspecting the string "My phone number is +9999999999" for any sensitive data. To perform this task, enter the following command and press Enter.
node inspectString.js dlp-project-391919 "My phone number is +9999999999."

Note: (Replace < PROJECT_ID> with your project ID)
Below, you will find the findings for the inspected string, which provide information about the information type and match likelihood.
Info type: PHONE_NUMBER (This indicates the presence of a telephone number in the given string)
Likelihood: Likely (This suggests a high probability that the data matches the PHONE_NUMBER info type.)

- Next, inspect another string of data for sensitive information. Inspect the string "My email id is john@demo.com." for sensitive information by typing the following command and pressing Enter.
# sample command
node inspectString.js < Project_ID> "My email id is john@eccdemo.com."

# Note: (Replace < PROJECT_ID> with your project ID)

# in this lab. we ran the command
node inspectString.js dlp-project-391919 "My email id is john@demo.com."

In the following section, you are likely to receive two types of Findings: info type and match likelihood of the string, with the details provided below.
Info type: PERSON_NAME (signifying the presence of a person's name in the string) Likelihood: POSSIBLE (indicating a potential data match for the PERSON_NAME info type)
Info type: EMAIL_ADDRESS (indicating the presence of an email address in the string) Likelihood: VERY_LIKELY (indicating a high probability of the data matching the EMAIL_ADDRESS info type)

Lesson
The utilization of the Cloud DLP API empowers a cloud security expert to conduct sensitive data scans on an information string.
Deleting Created Resources
NOTE: Remember to delete, shut down, or terminate all resources created and utilized in this lab to avoid being billed for them.
- To delete the NODE JS DLP repository, simply enter the following command and press Enter.
rm -rf nodejs-dlp

# rm -rf <json file> .json
rm -rf dlp-project-391919-4a1dc3711107.json


- Next, to delete the service account for Cloud DLP that you have created, navigate to IAM & Admin and select Service Accounts in the console. Select the checkbox for the service account (d3m0-service) and click on DELETE.
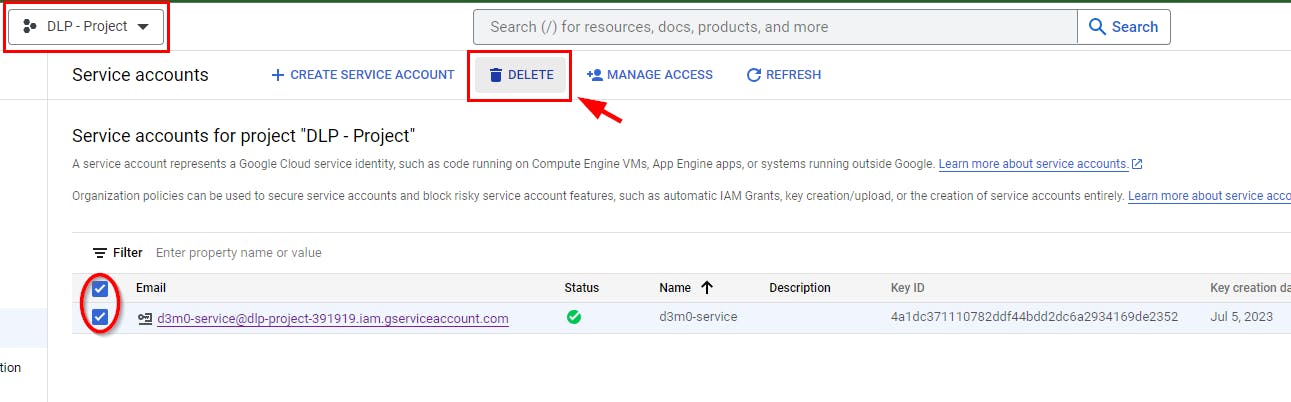
- When a dialogue box pops up, click on Delete.

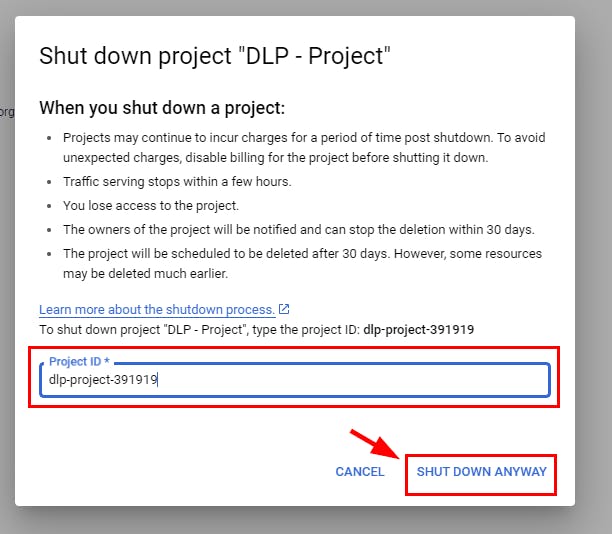
Delete project Created
Check how to Delete the Project you created in this lab Here