Data Encryption and Decryption using Google Cloud KMS

Introduction
Cloud Key Management Services (Cloud KMS) is a centralized service that enables cloud security engineers to manage cryptographic keys, including symmetric and asymmetric keys like RSA 2048, RSA 3072, RSA 4096, AES 256, EC P256, and EC P384. It facilitates key generation, usage, rotation, and destruction. Administrators can monitor and manage permissions for individual keys, protecting against unauthorized access. Cloud KMS safeguards data integrity through regular scans and backups of keys and metadata. It can be integrated with IAM and Cloud audit logs, offering an added layer of security. Additionally, Cloud KMS aids in setting up a key rotation to thwart brute-force attacks.
Lab Objective
This lab demonstrates how to Encrypt and decrypt data using Cloud KMS symmetric keys.
Disclaimer
Please note that the GCP management console is subject to change over time. While the instructions provided are accurate at the time of writing, there may be updates or modifications to the console's interface or functionality. It is advisable to refer to the official GCP documentation for the most up-to-date and accurate information regarding the GCP management console.
Lab Tasks
NB: You should have created a GCP Free Trial account before starting this lab.
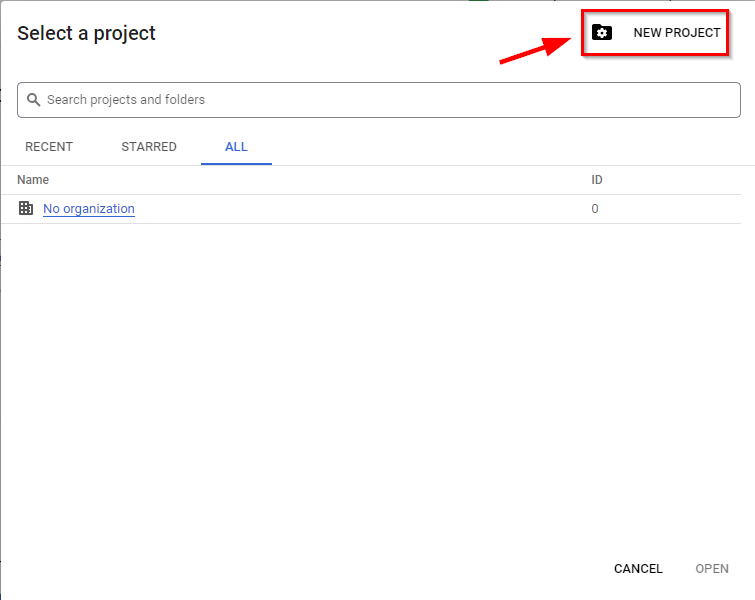
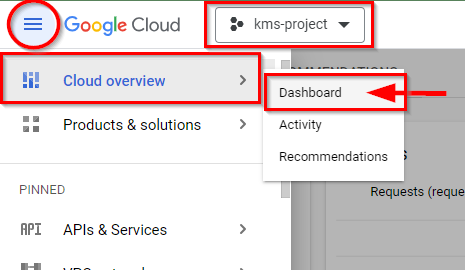
- Sign in to your GCP management console and click on “Select a project” at the top left of your screen. A dialogue box pops-up

- On the dialogue box, click on “NEW PROJECT” at the top right of the box.
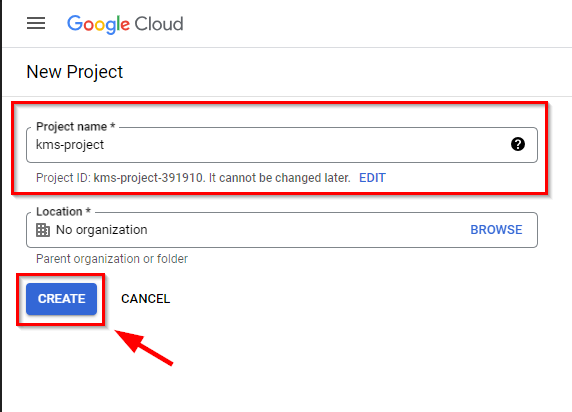
- Give a project name of your choice (here, kms-project) and click on the Create “button”.
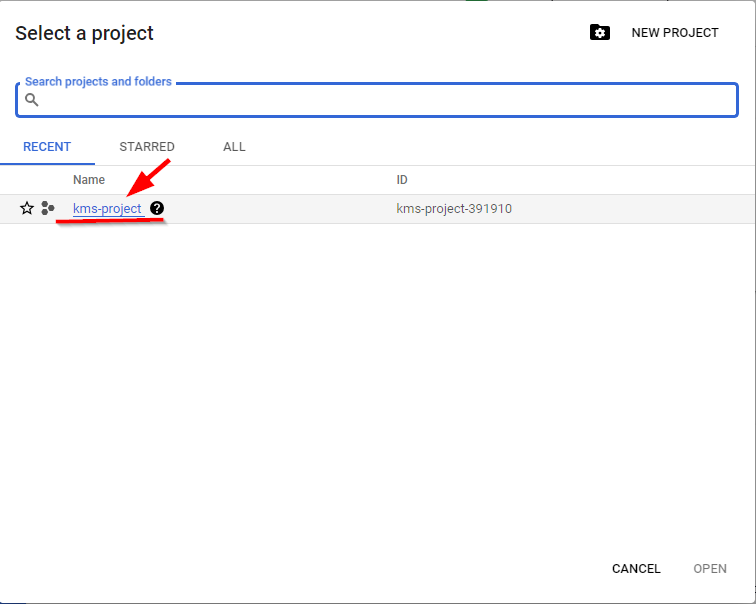
- Once done, click on “Select a project” and click on the project name you just created.
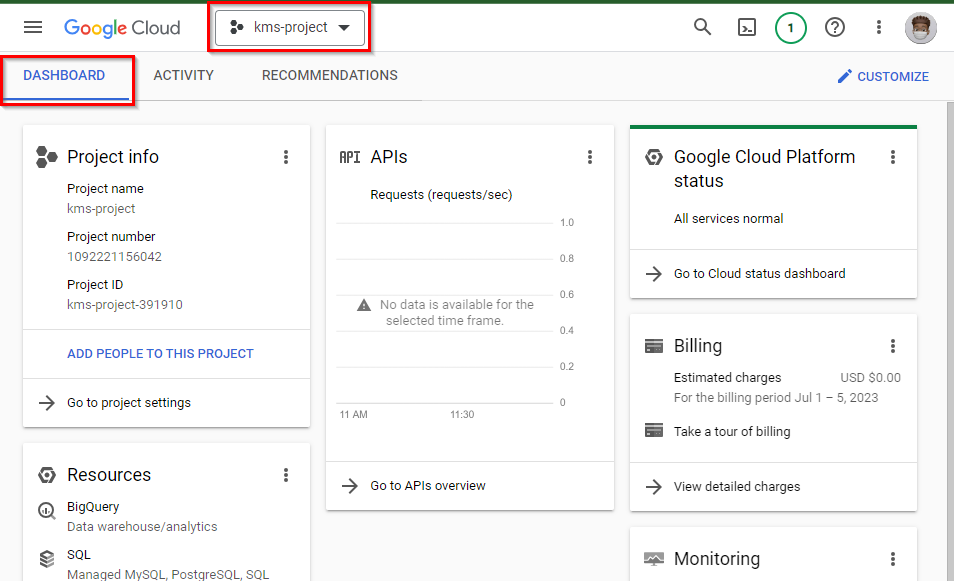
- Navigate to the menu section and click on Dashboard to view your newly created project details.
NB: Ensure that “kms-project” is selected as the default project.
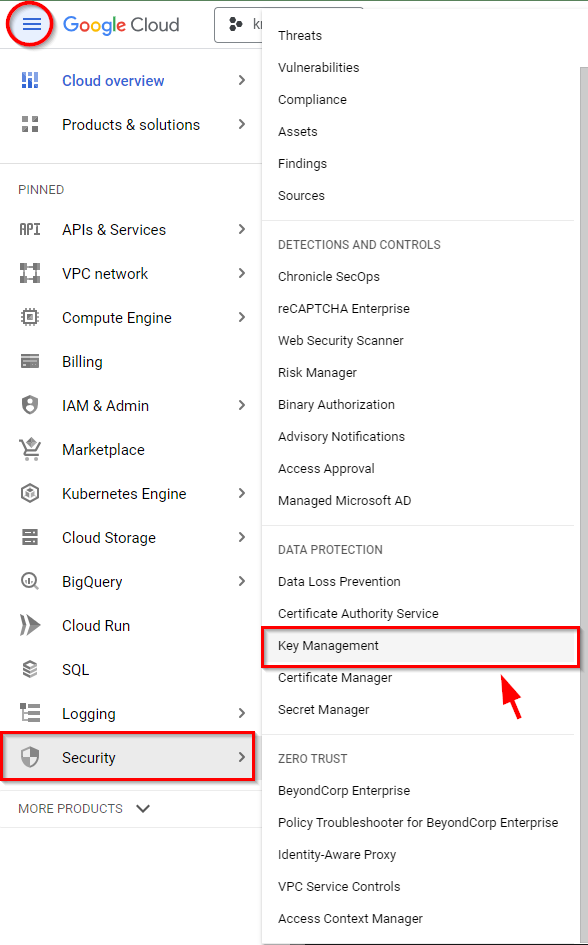
- Once you have chosen the project (“kms-project”), simply scroll down and expand the "More Products" section on the left side. From there, go to the "Security" category and choose "Key Management.”
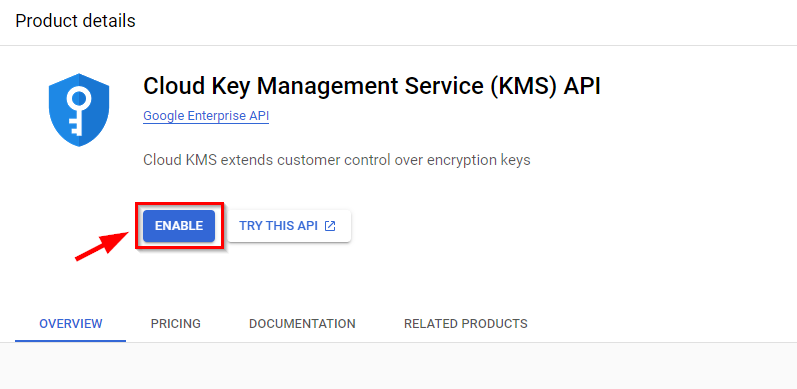
- You will be creating symmetric key rings and keys. If it's your first time creating a key, you must enable the Cloud Key Management Service (KMS) API by clicking on the "ENABLE" button and waiting for it to be activated.
Enabling Encryption Algorithm (cryptographic symmetric key)
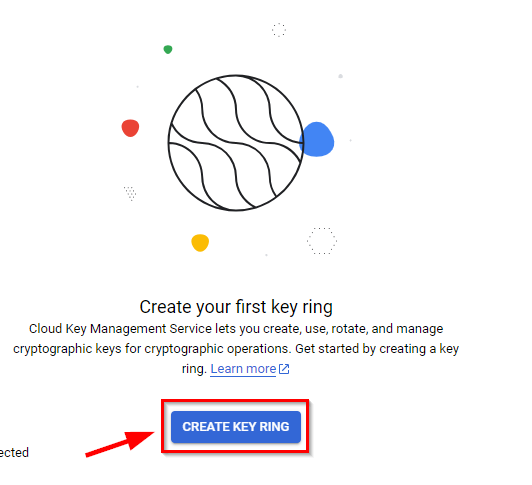
- Once the Cloud KMS services are enabled, you can proceed by clicking on "CREATE KEY RING" to establish your initial key ring.
To proceed, provide a name for the Key-ring and choose its location. Afterward, click on the "CREATE" button. In this case, we used the following:
Key ring name: d3m0-key-1
Key ring location: global

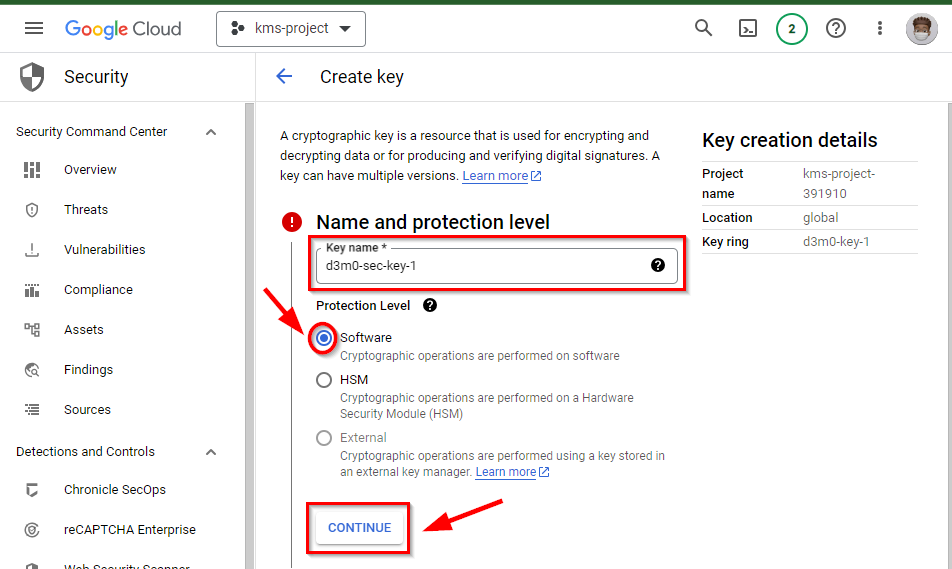
On the Create key page, under the Name and Protection level, enter the key name as “d3m0-sec-key-1”. Next,
Check the radio button for “software” and click continue.
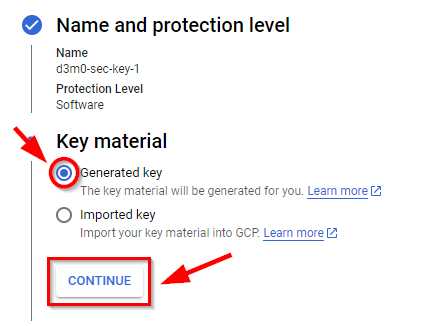
Under Key Material, check the radio button for “Generate key” and click continue.
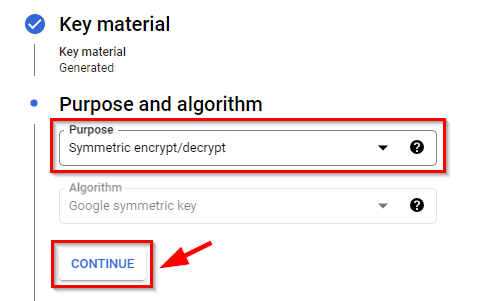
Under purpose and algorithm, on the drop-down menu, select “Symmetric encrypt/decrypt” and click continue.
- Retain the other settings by clicking Continue, and then click on Create.
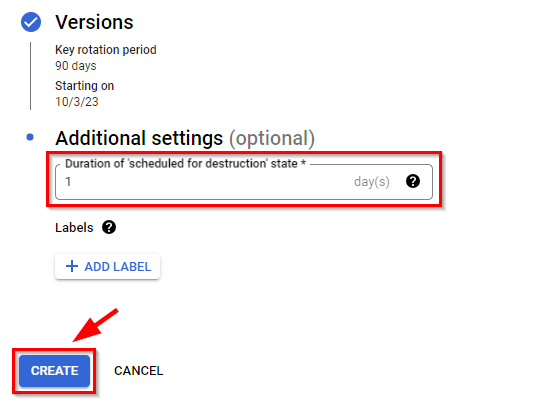
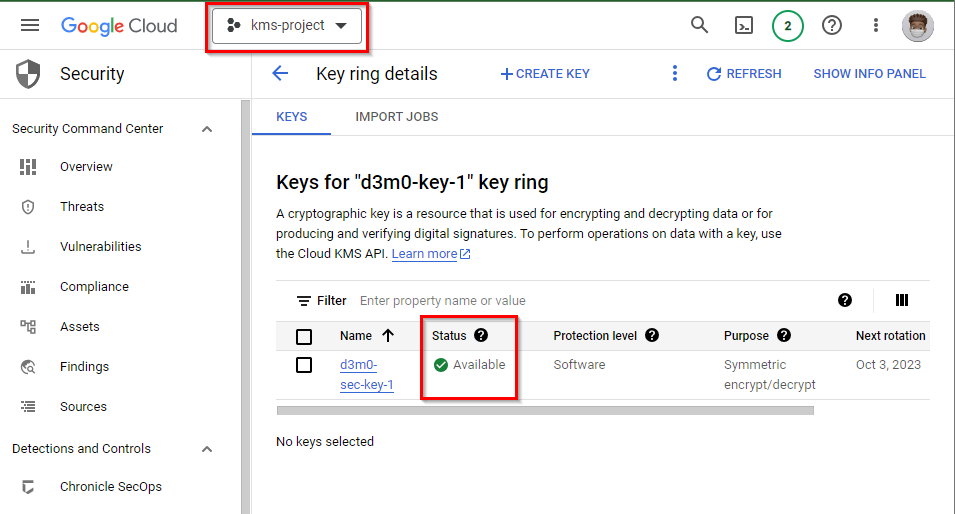
- The key ring and the cryptographic symmetric key will be generated, and the Status will become Available with a green tick mark.
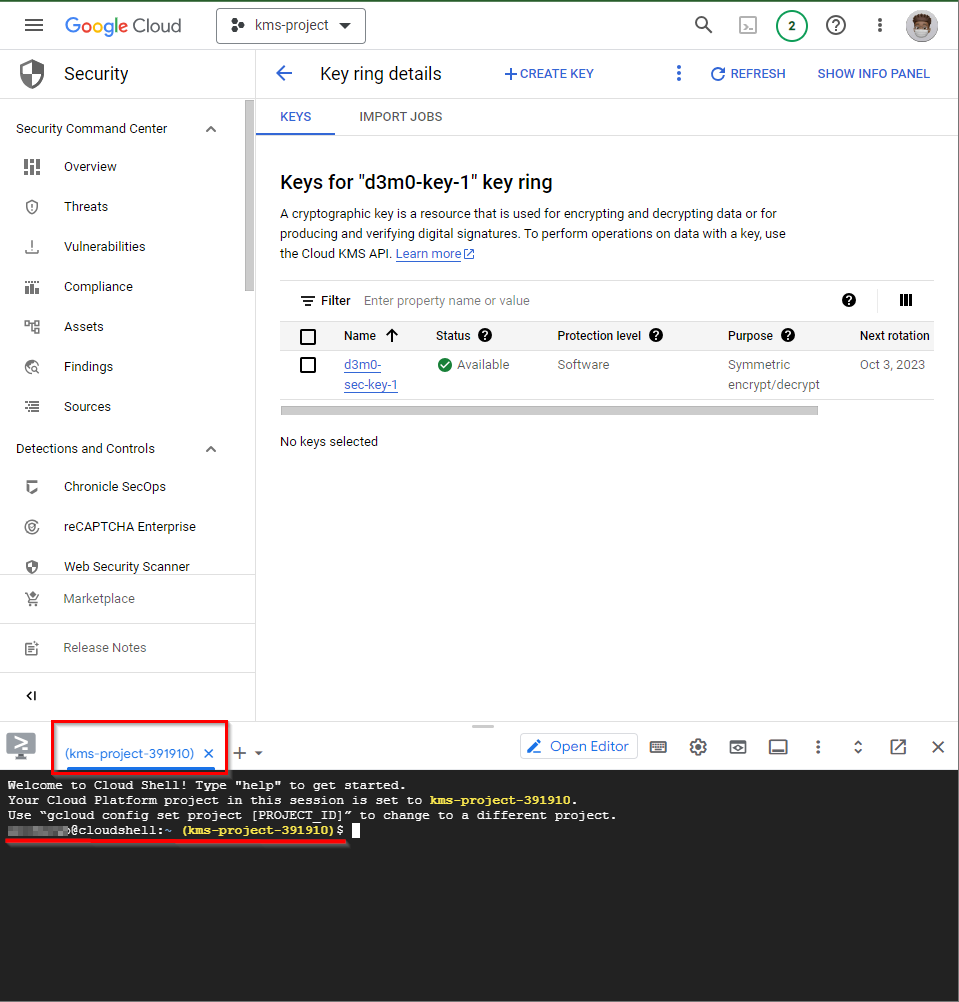
- Now to encrypt the data with the symmetric key, simply click on the Cloud Shell icon located in the top right corner of the Google Cloud Console and wait for the Cloud Shell to open.

- If you are using Cloud Shell for the first time, click on Continue to open the cloud shell terminal.
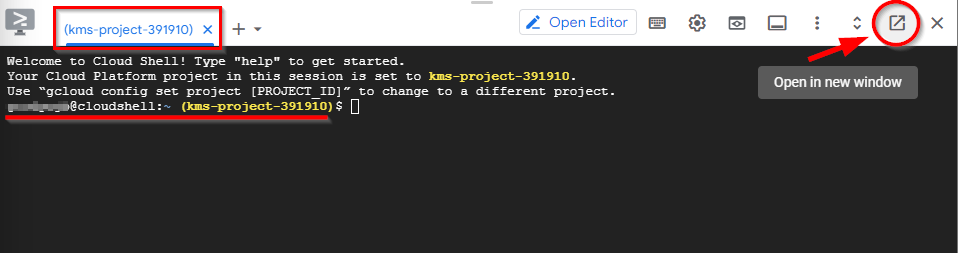
- Click on the icon located at the top right corner of the Cloud Shell terminal to open it in a new window.
Note: Here, kms-project is set as default project, if your own project ID is not set on the cloud shell, type the following command on the cloud shell.
Also, you can check this lab, where similar step was done there.
# First command (this command will list your porject details. NOTE the project ID)
gcloud projects list

# Note: If a window pops up for Authorise Cloud Shell, click on Authorise.

# second command
gcloud config set project {Project-ID}
# NOTE supply the porject-ID of your Project Name gotten from the first command.
Once done, you should have your project ID set as shown below.

Encrypting Text File
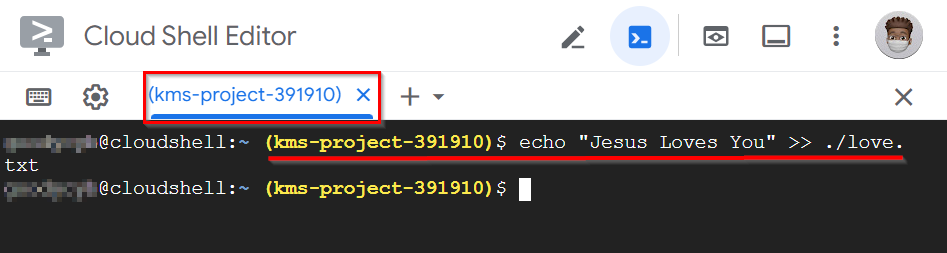
- Create a text file to encrypt using the command
# Enter this command on Cloud shell terminal
echo “text to be encrypted”>> /name of text file.txt

# NOTE replace <"text to be encrypted"> with your text and <"name of text file .txt">   with the name of your text file).

# For this lab, the command ran is:
echo "Jesus Loves You" >> ./love.txt

# You can use the command ls to confirm if the txt file was successfuly created
$ls # ( this command will list file or directories)
- Once the text file is created, proceed to encrypt the data within it by entering the following command and pressing the Enter key.
gcloud kms encrypt \
  --location <location> \
  --keyring <key ring name> \
  --key <symmetric key name> \
  --plaintext-file ./<text file name> \
  --ciphertext-file ./<encrypted data text file name>
Note: In the above command, replace < location> with the location of your key ring, < key ring name> with your key ring name, < symmetric key name> with the name of your symmetric key, < text file name> with the name of text file you created, and < encrypted data text file name> with a name for the encrypted file name with a .enc extension.
Check the previous steps for the Names you used.
In this lab, we have used the following command:
gcloud kms encrypt \
    --key d3m0-sec-key-1 \
    --keyring d3m0-key-1 \
    --location global \
    --plaintext-file ./love.txt \
    --ciphertext-file ./love.txt.enc
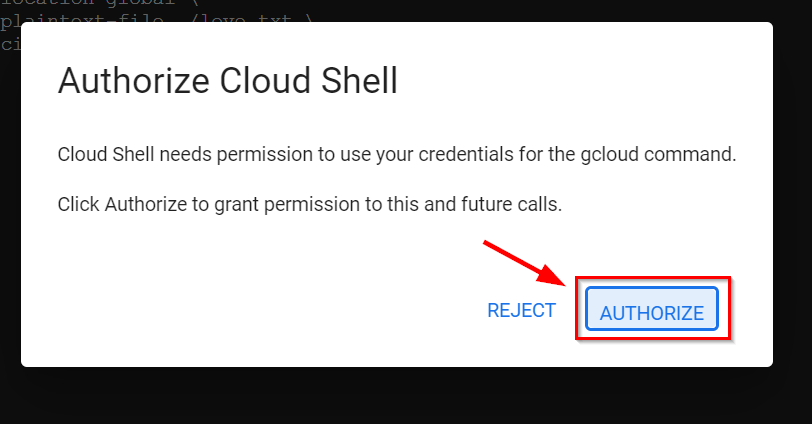
Note: After running the above command and seeing a pop-up box appear as shown below, click Authorize.
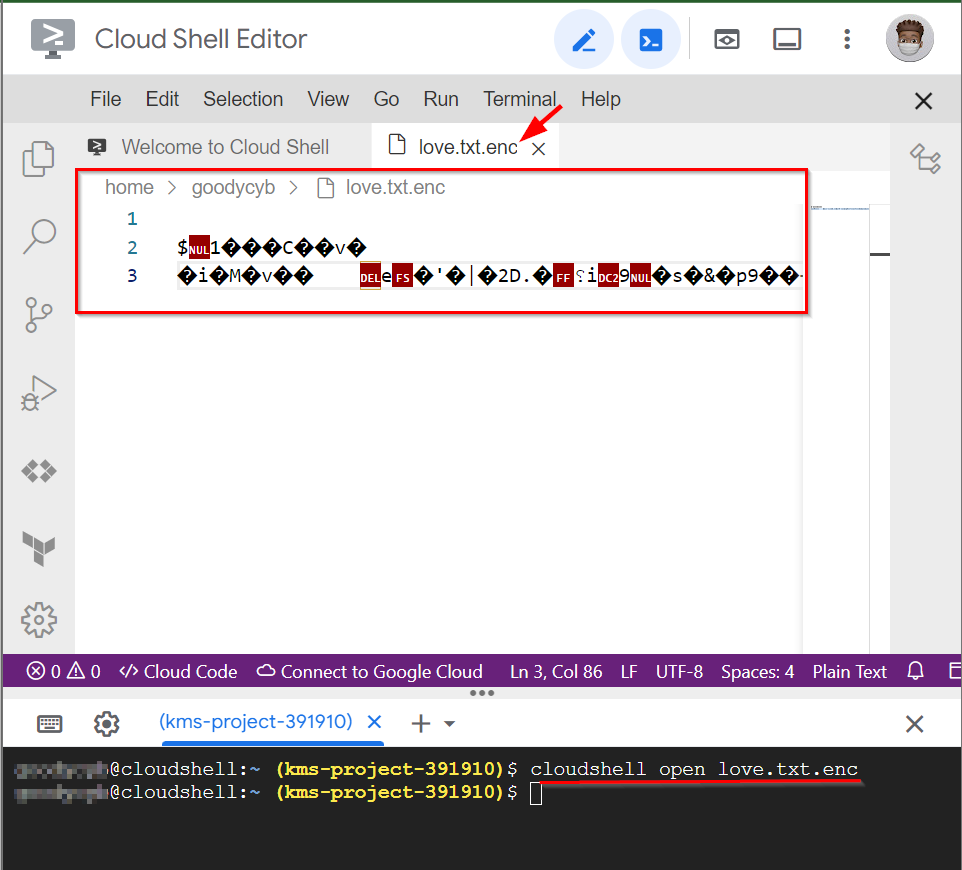
To verify the successful encryption of the data, please enter the following command and press Enter.
# Note: Replace <name of the encoded text file> with your encoded file name) $cloud shell open < name of the encoded text file> #OR you can type the command $cat < name of the encoded text file> #in this lab the command is $cat love.txt.enc- When the command
cat love.txt.encis run, you will get an encrypted text as shown below.
- When the command

Also, if you use the other command : cloudshell open love.txt.enc you will get an encrypted text as shown below.
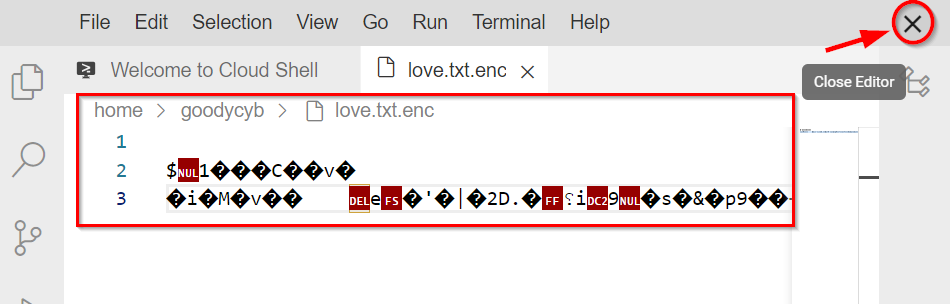
- Click on the X icon at the top right of your screen to close the encrypted file.
Decrypting Text File
- To decrypt the text file, enter the following command and press Enter.
gcloud kms decrypt \
 --location < location> \
 --keyring < key ring name> \
 --key < key name> \
 --plaintext-file - \
 --ciphertext-file ./< encrypted text file name>
NOTE: from the above command, replace the values with yours < location>, < key ring name>, < key name>, < encrypted data text file name>
For this lab, we have used the following command:
gcloud kms decrypt \
 --location global \
 --keyring d3m0-key-1 \
 --key d3m0-sec-key-1 \
 --plaintext-file - \
 --ciphertext-file ./love.txt.enc
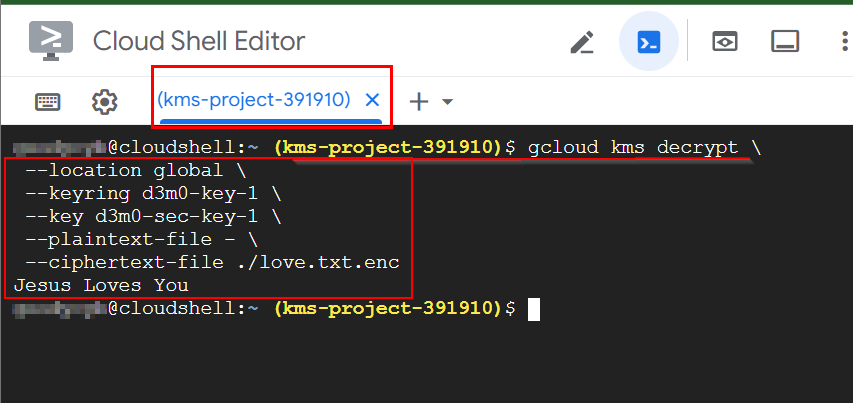
- From the above image, you will see the file (love.txt) successfully decrypted.
Limiting the Same key to prevent Brute-force attack
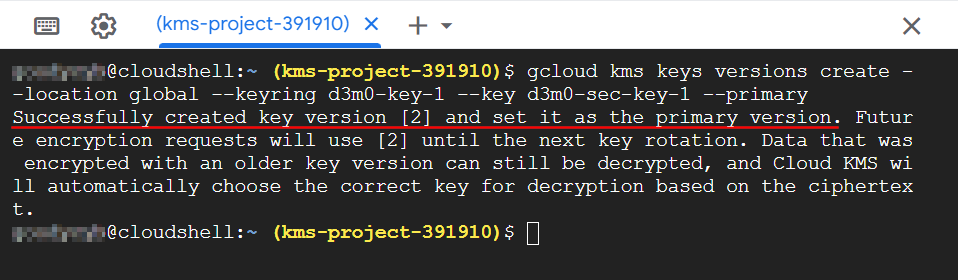
To prevent brute-force attacks, it is recommended to rotate the keys regularly and limit the usage of the same key version for encrypting multiple files. To manually rotate the key and set it as the primary version, enter the following command and press Enter.
gcloud kms keys versions create --location <location> --keyring <keyring-name> --key <key-name> --primary
NB: replace < location> , < keyring name> and < key name> with your own values
In this lab, we have used the following command:
gcloud kms keys versions create --location global --keyring d3m0-key-1 --key d3m0-sec-key-1 --primary
Disabling Key Version for Enhanced Security
- To enhance security, you can disable the key version to prevent the decryption of ciphertext values encrypted with an older cryptographic key version using Cloud KMS. To achieve this, enter the following command and press Enter
gcloud kms keys versions disable "1" --location "< location>" --keyring "< keyring name>" --key "< key name>"
In the above command, replace < location>, < keyring name>, < key name> with your values.
In this lab, we have used the following command:
gcloud kms keys versions disable 1 --key=d3m0-sec-key-1 --location=global --keyring=d3m0-key-1 --project=kms-project-391910

By following the above approach, a cloud security engineer can effectively oversee the management of cryptographic keys, ensuring the security of data through encryption and decryption processes.
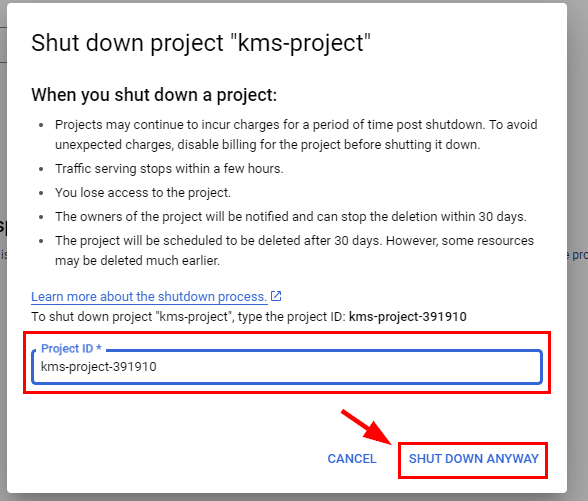
Deleting Created Resources
Please make sure to delete, shut down, or terminate all resources that were created and used in this lab to avoid incurring any charges.
To remove the text file that you have created, enter the following command and press Enter.
rm love.txt&rm love.txt.encAlso, use the commandlsto be sure it isn’t still there.**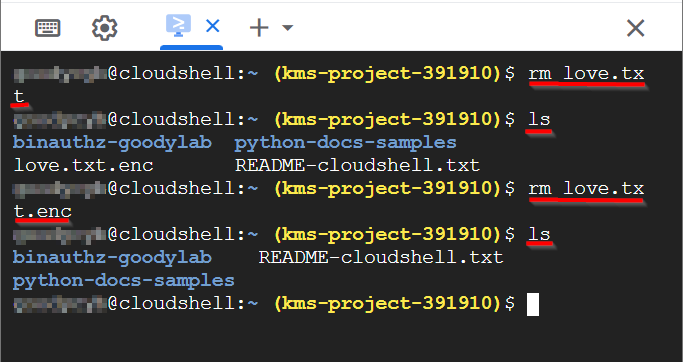
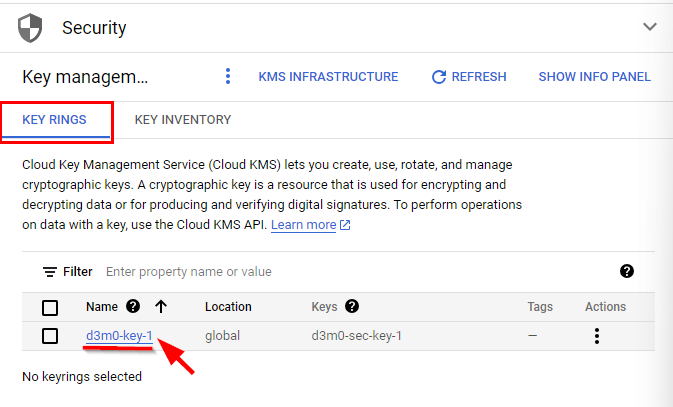
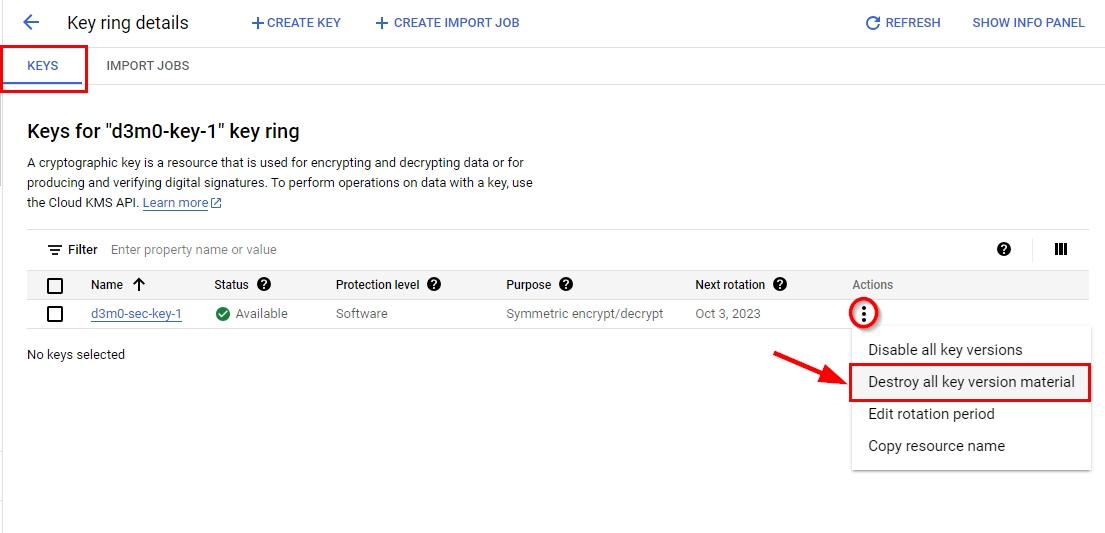
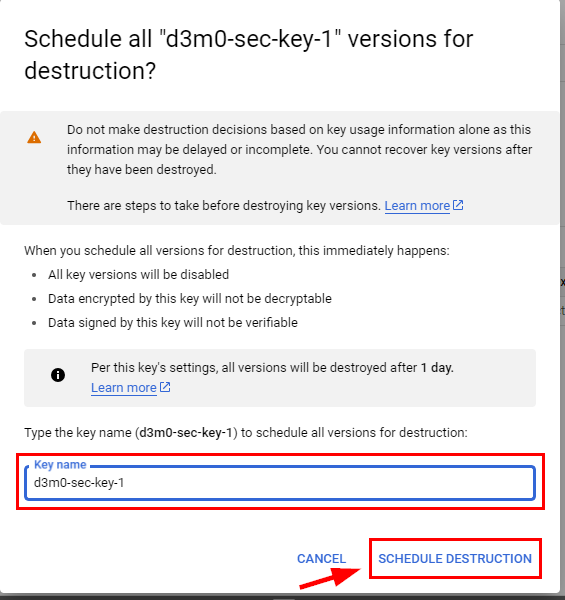
Afterward, to initiate the destruction of the key named "d3m0-sec-key-1," navigate to the Security section and choose Key Management. Next, click on the access key ring labeled "d3m0-key-1." Then, locate the ellipsis icon at the end of the key (d3m0-sec-key-1) and select the option to destroy all key version material. In case a pop-up window appears, provide the key's name and proceed by scheduling its destruction.
Please note that the key will be destroyed automatically after a period of 24 hours. It is important to mention that you cannot delete key ring (d3m0-key-1) that you have created.
Delete project Created
Check how to Delete the Project you created in this lab Here