Using CloudTrail and CloudWatch to Send Notifications for Security Group Changes

Introduction
In the world of AWS infrastructure, AWS CloudTrail offers organizations the ability to log, continuously monitor, and retain account activity related to various actions. Meanwhile, Amazon CloudWatch serves as a valuable tool for monitoring applications and assessing their operational health through logs, metrics, and events.
In this lab, we'll showcase a scenario where administrators can receive notifications via email if any user attempts to modify the security group associated with an EC2 instance. By leveraging the capabilities of both CloudTrail and CloudWatch, administrators can promptly take the necessary actions.
Amazon CloudWatch plays a crucial role in monitoring and notifying changes to AWS resources, enabling alarms, and collecting real-time metrics for user activities. The CloudWatch console provides customizable dashboards that empower teams to assess application health, respond to incidents efficiently, and facilitate seamless communication during operational events.
With AWS CloudTrail and Amazon CloudWatch, organizations can establish a robust monitoring and alerting system for their AWS infrastructure, ensuring enhanced security and operational efficiency.
Lab Objective
This lab demonstrates how to set up a monitoring and alerting system using AWS CloudTrail and Amazon CloudWatch to receive email notifications whenever a user attempts to modify the security group associated with an EC2 instance.
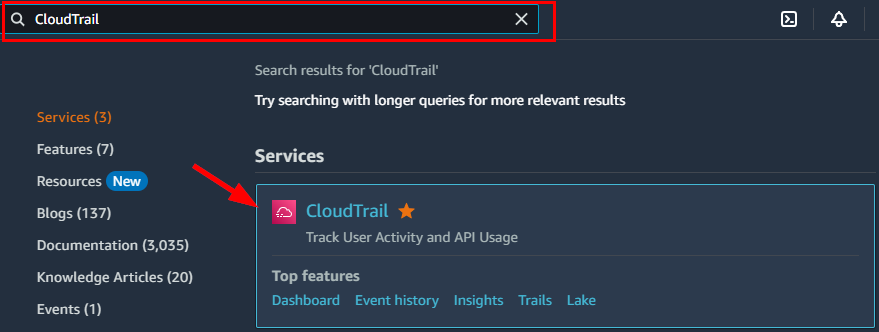
- Sign in to your AWS Management Console and navigate to the CloudTrail Dashboard by searching for CloudTrail at the top Searching box.
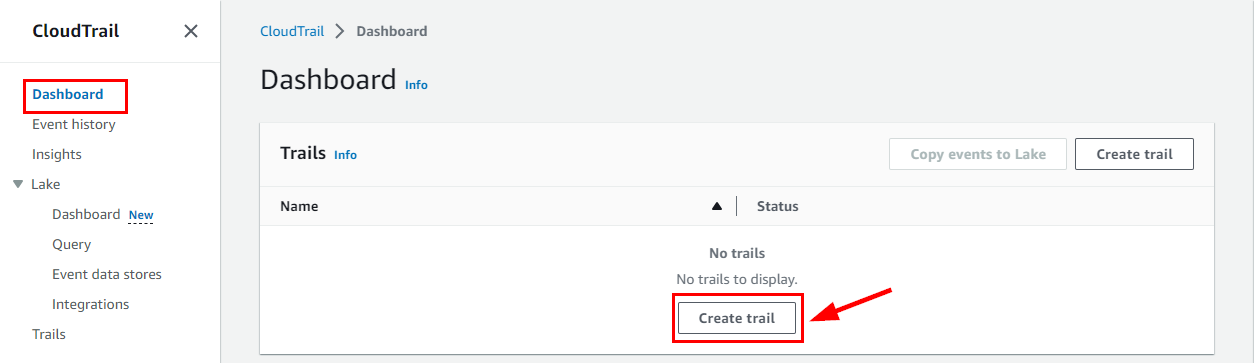
- On the CloudTrail Dashboard, click on Create Trail.
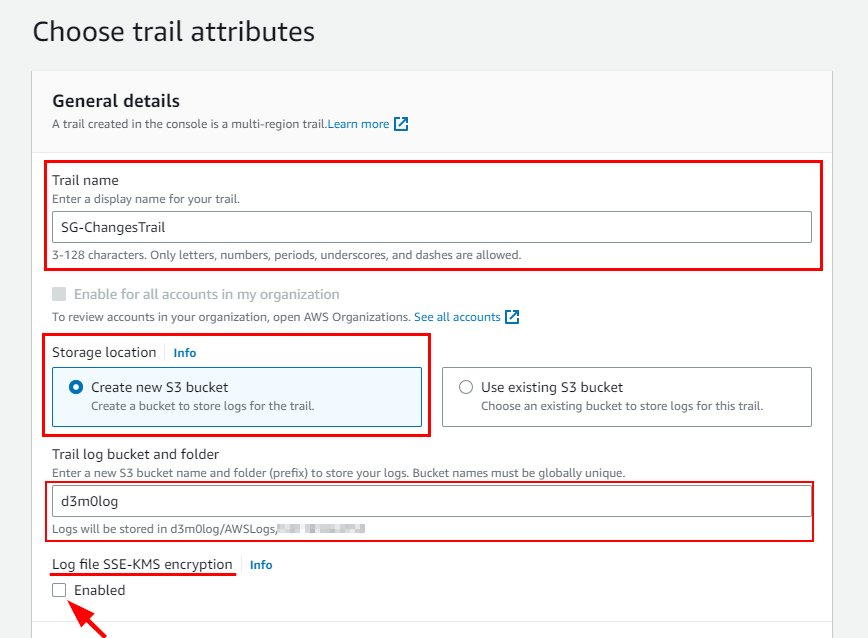
- On the Choose trail attributes page, give a name of your choice for the trail name (Here, SG-ChangesTrail) and select Create new S3 bucket under Storage location and enter the S3 bucket name as d3m0log then Uncheck the Enabled option under Log file SSE-KMS encryption.
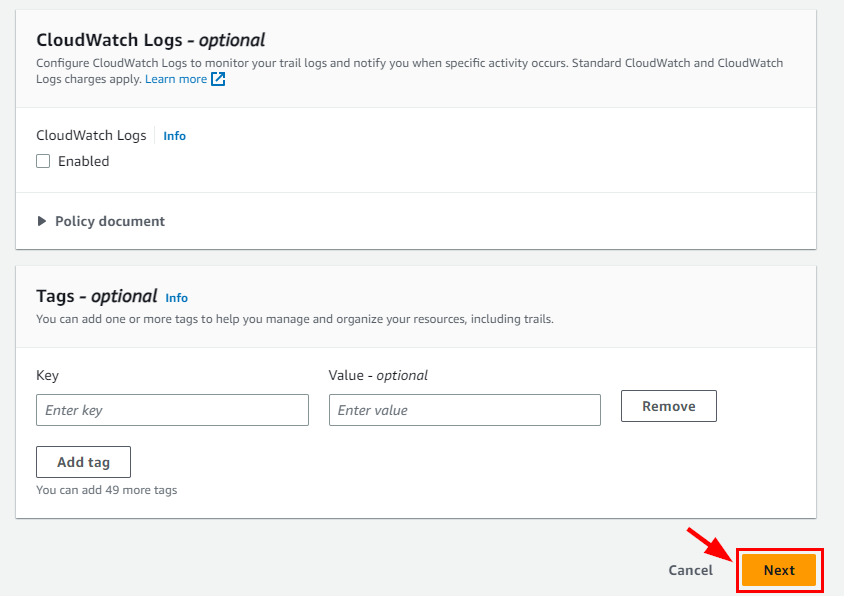
- Scroll down, and click on Next.
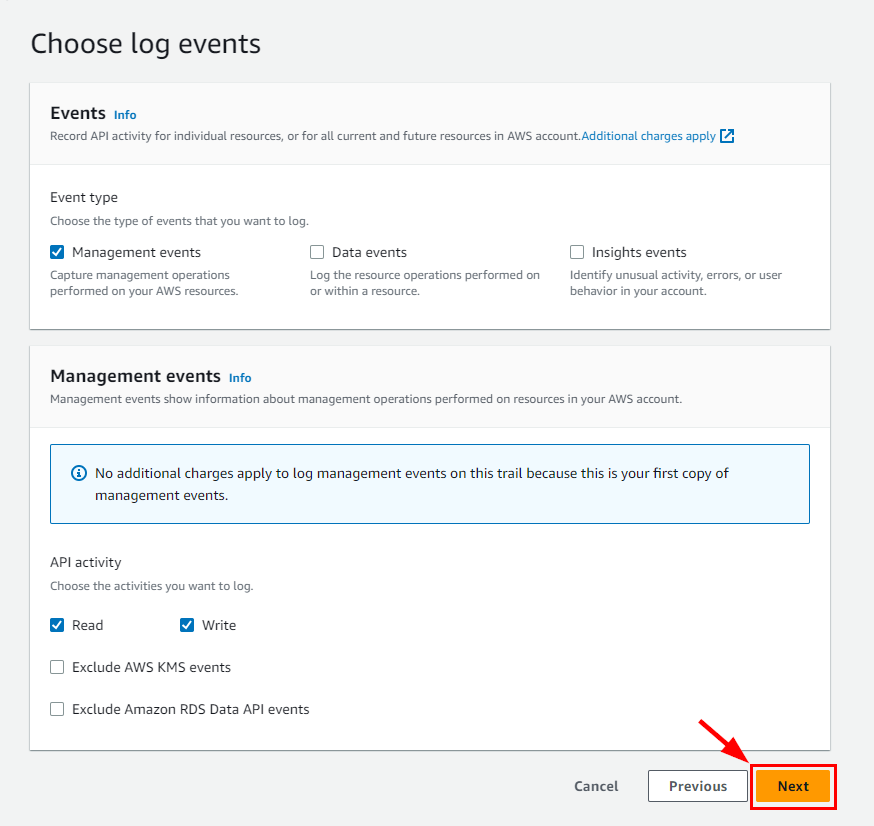
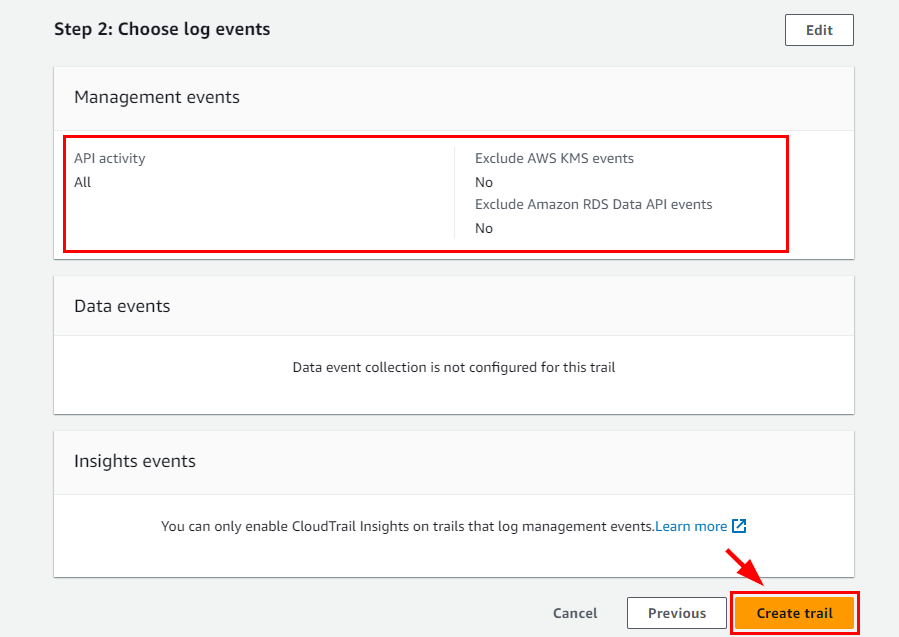
- On the Choose log events page, retain all default settings and click on Next
- Review all trail details on the Review and Create page and click on Create Trail.
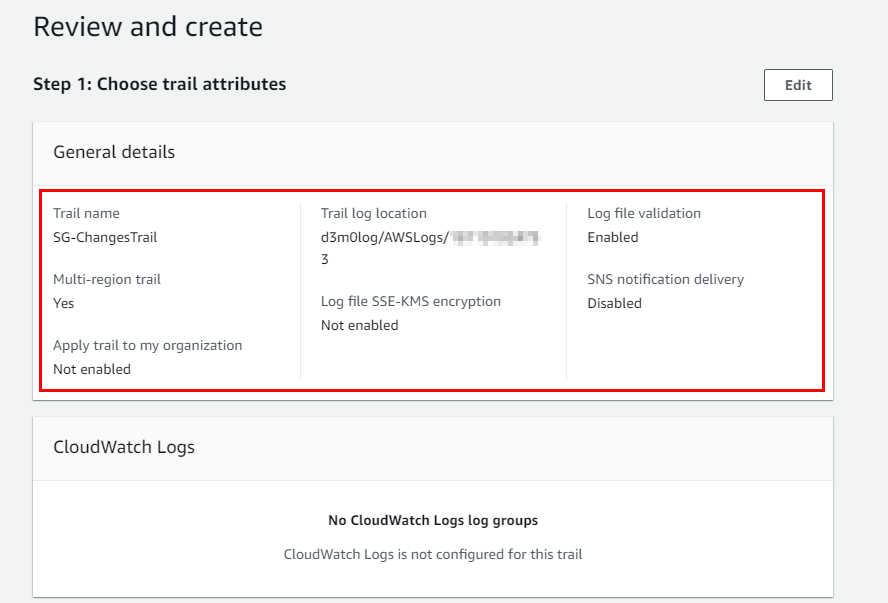
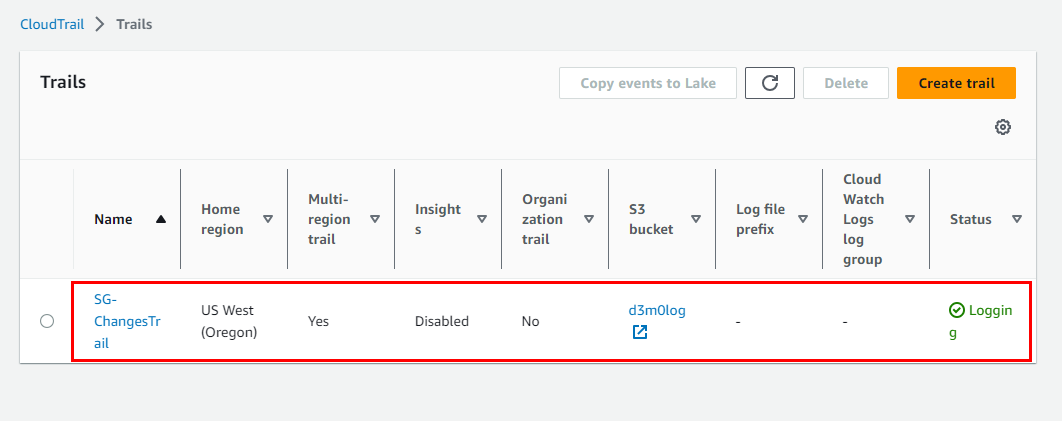
- The SG-Changes Trail trail is successfully created.
Configuring Simple Notification Service
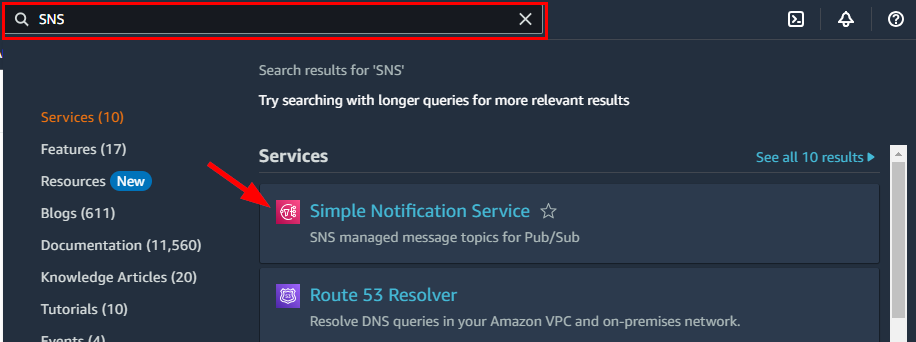
- Navigate to the search bar at the top and search for SNS and select Simple Notification Service from the drop-down.
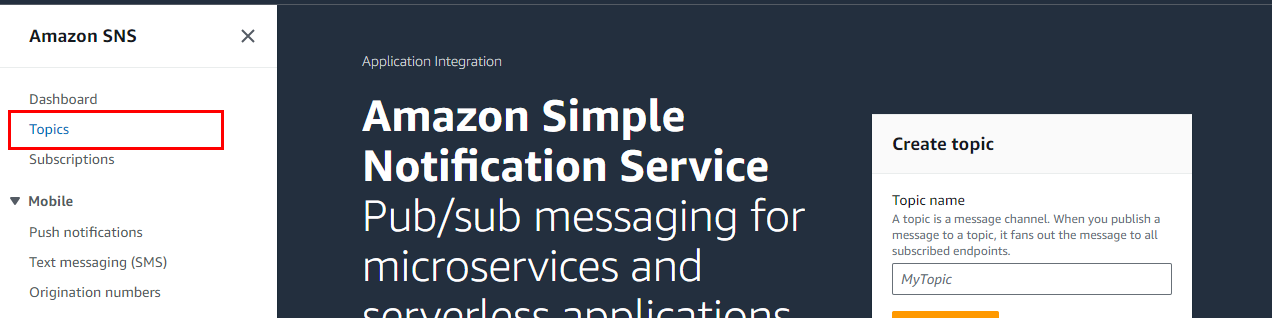
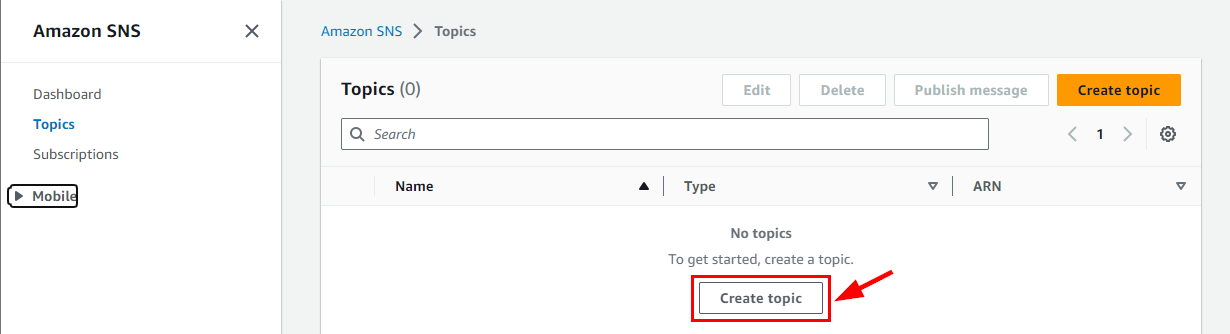
- Click on Topics on the left navigation pane of the SNS Dashboard to create a new topic
- On the Topics page, click on Create Topic to continue.
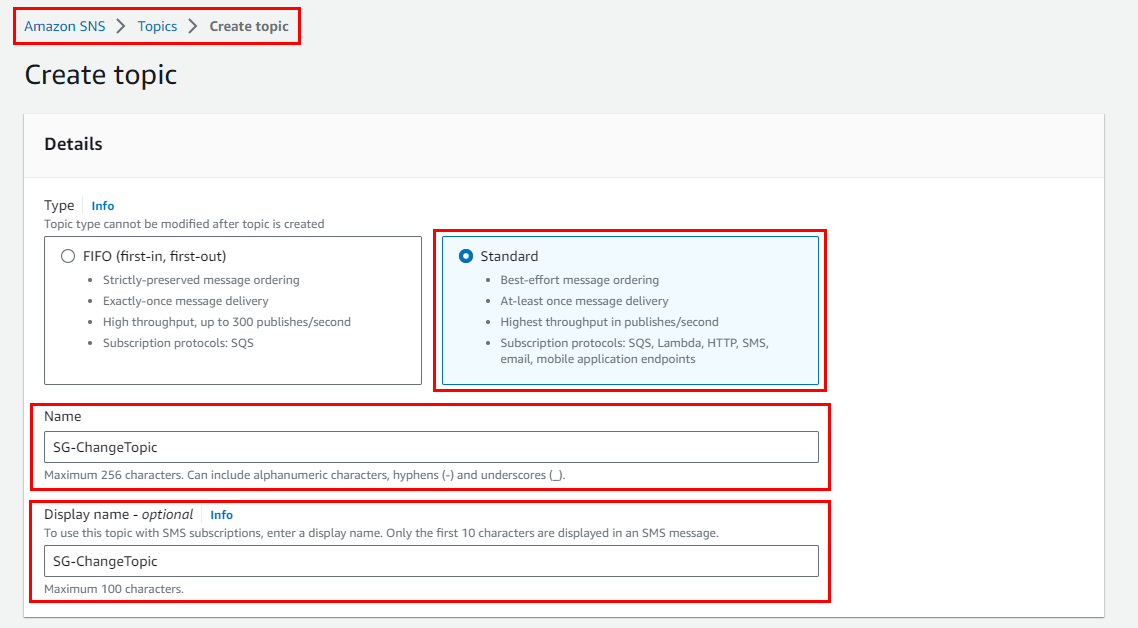
- On create topic page, Select topic type as Standard, give any name of your choice as the topic and (Here, SG-ChangeTopic and description.
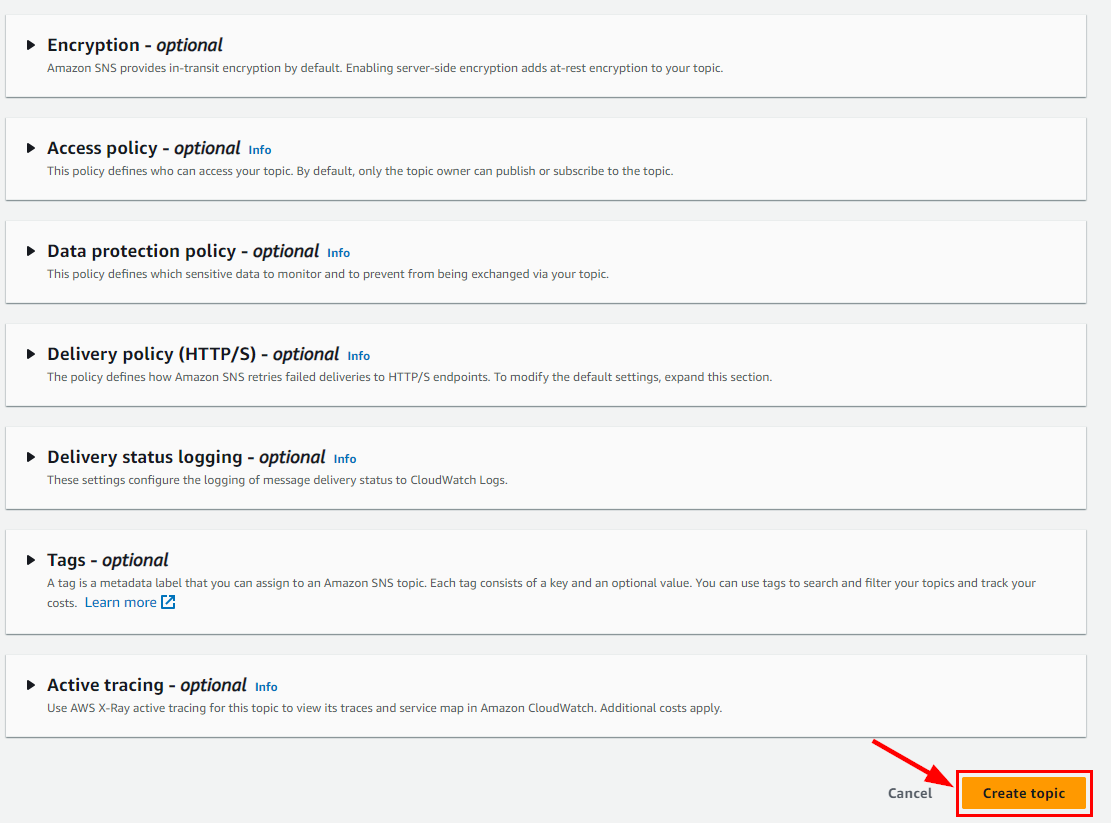
- Retain all other default options, scroll down and click Create topic.
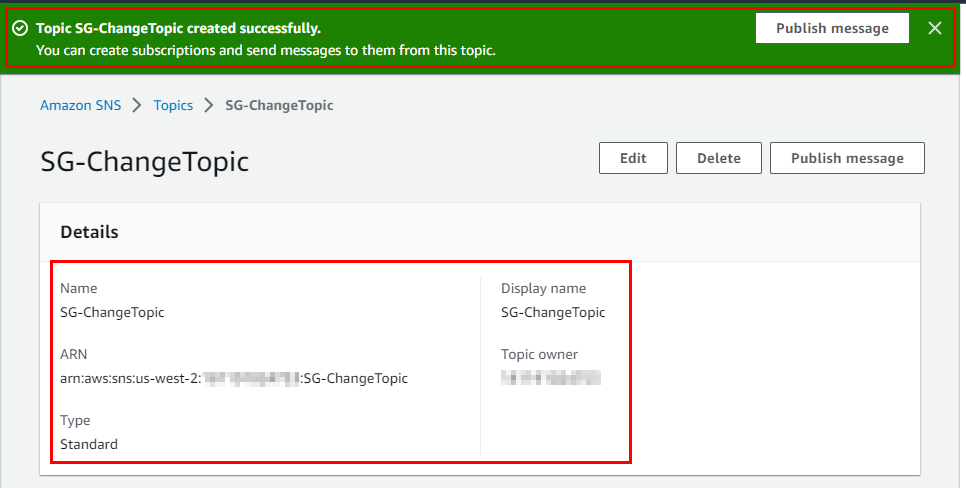
- Topic SG-ChangeTopic is created successfully
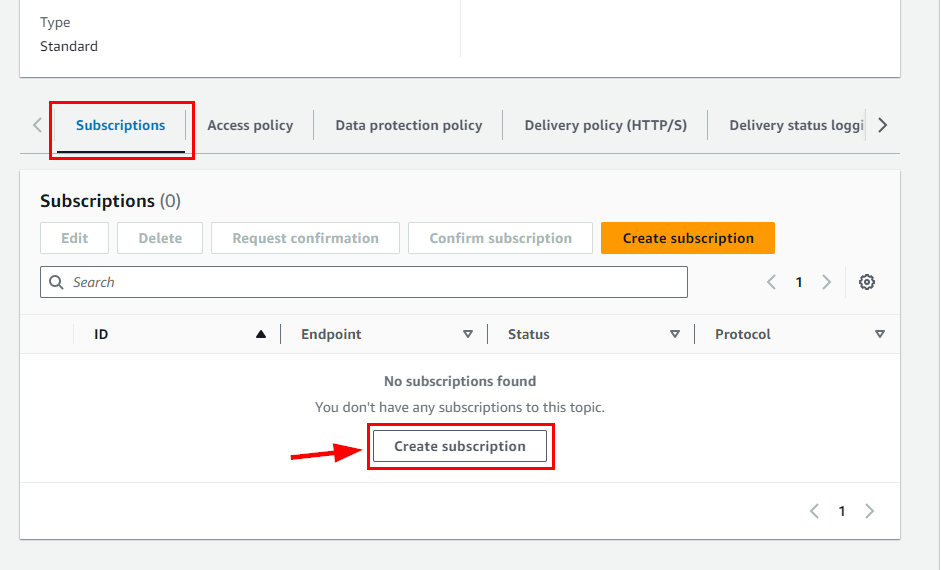
- Still, on the SG-ChangeTopic page, scroll down and click on Create Subscription
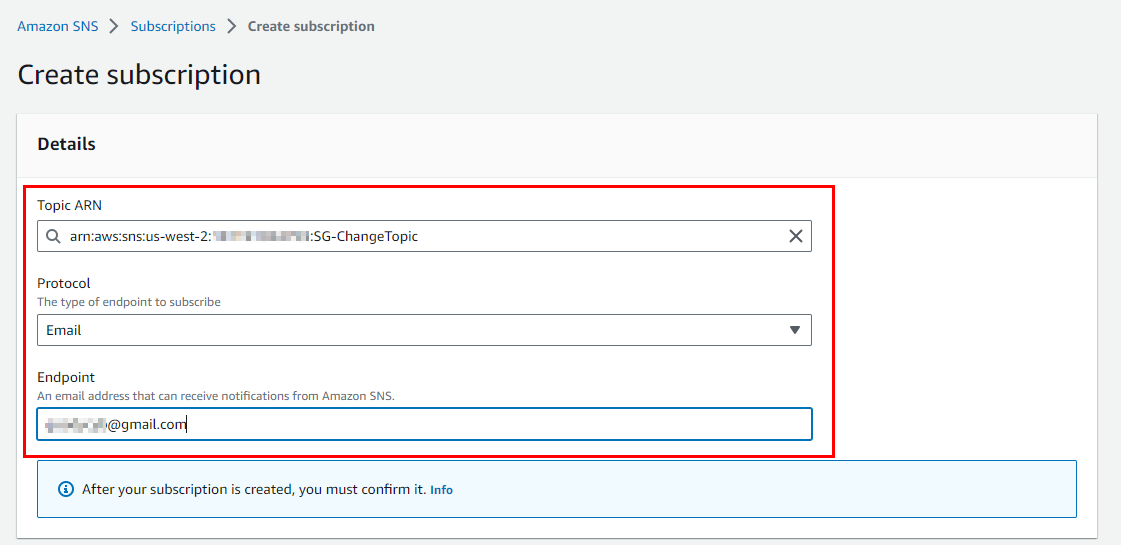
- On the Create subscription page, select Email under Protocol and type your email address for Endpoint (you can use your personal email address). scroll down and click on Create Subscription.
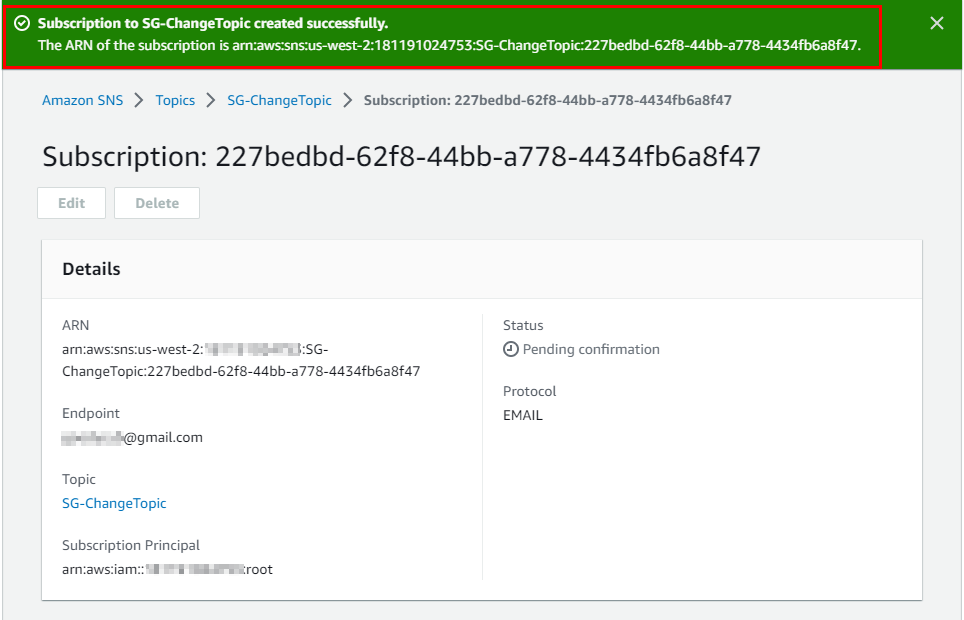
- The subscription is created successfully, and you can see its Status as Pending confirmation.
Confirming Email notification configured
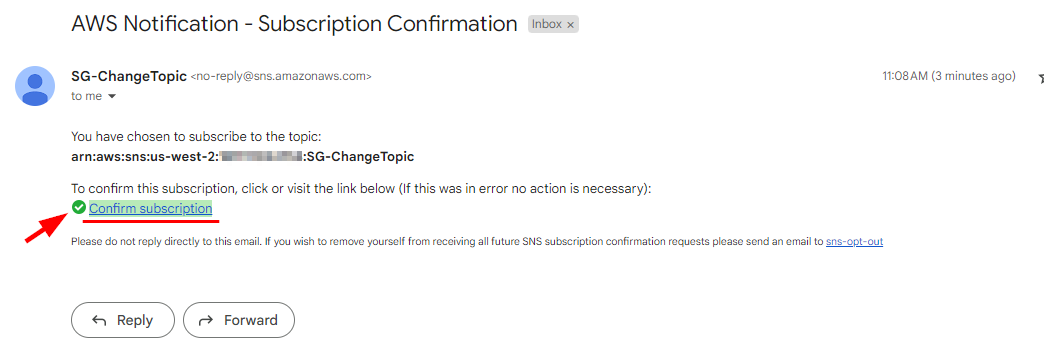
- Log on to the email address you added as the endpoint to confirm the notification configuration.
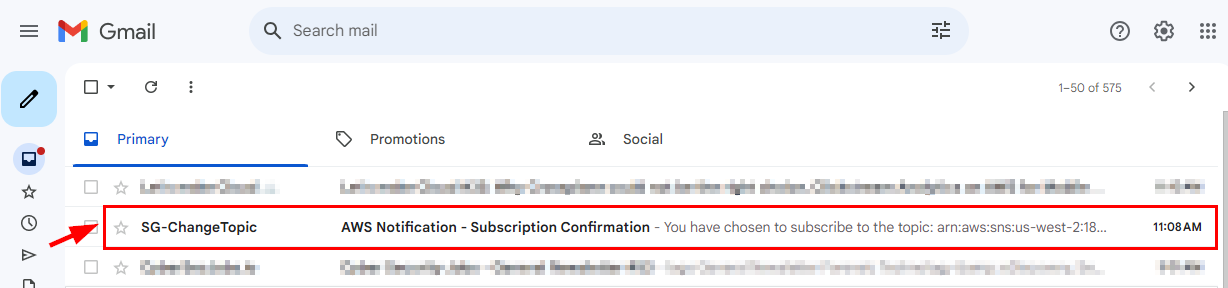
NB: Sometimes the Email might be in your Spam Folder so check if you don’t find the Notification in your Inbox.
- Open the email and click on the Confirm Subscription link
- The Subscription Confirmed! The message opens in a new tab. Close the tab and switch back to the AWS SNS console.
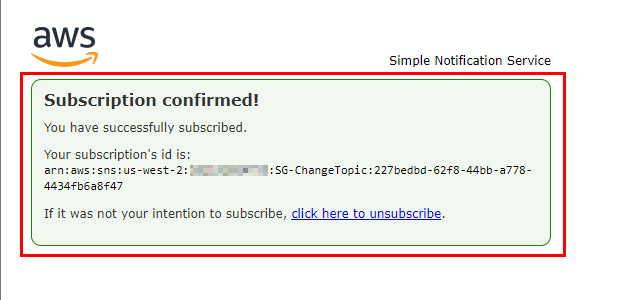
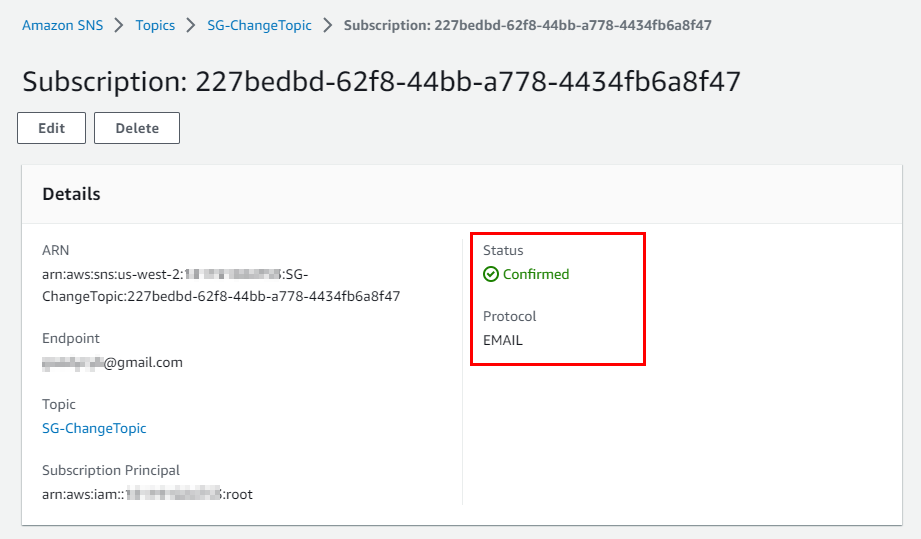
- Refresh the page to see the updated subscription status. The Status has changed from pending to confirmed
Configuring CloudWatch to Record Events
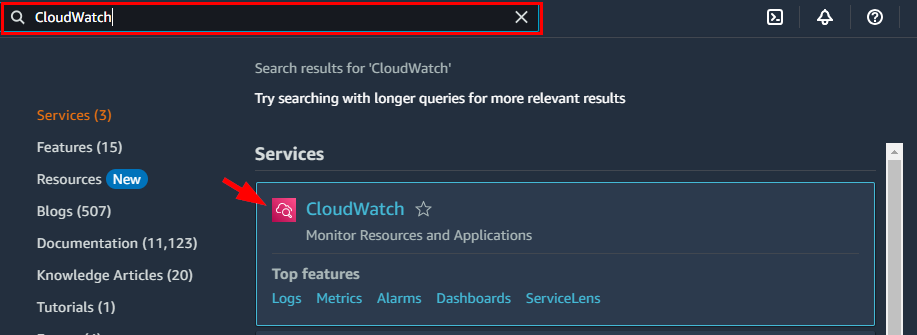
- Next, you will configure CloudWatch to record events from the resources. Search for CloudWatch from the top search box and select CloudWatch from the search results.
- On the CloudWatch Dashboard, navigate to the left pane and click on Rules under the Events menu.
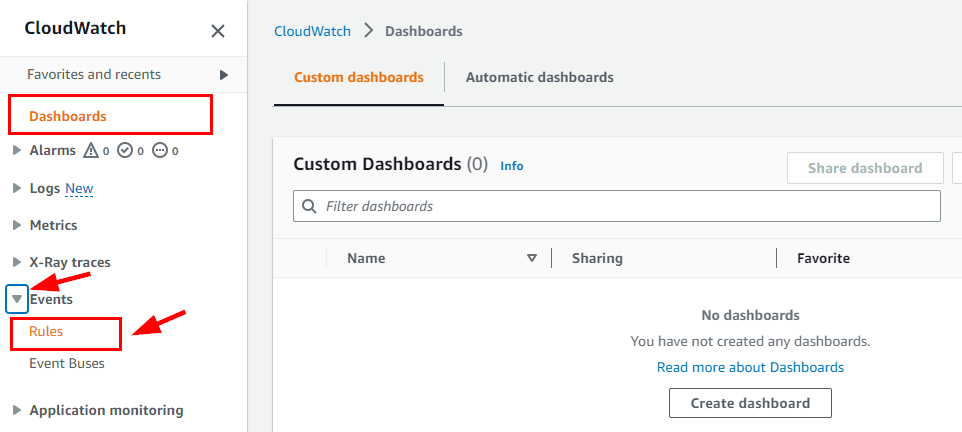
- On the Rules page
Note: Click on Back to CloudWatch Events if a note appears as Cloudwatch Events is now EventBridge.
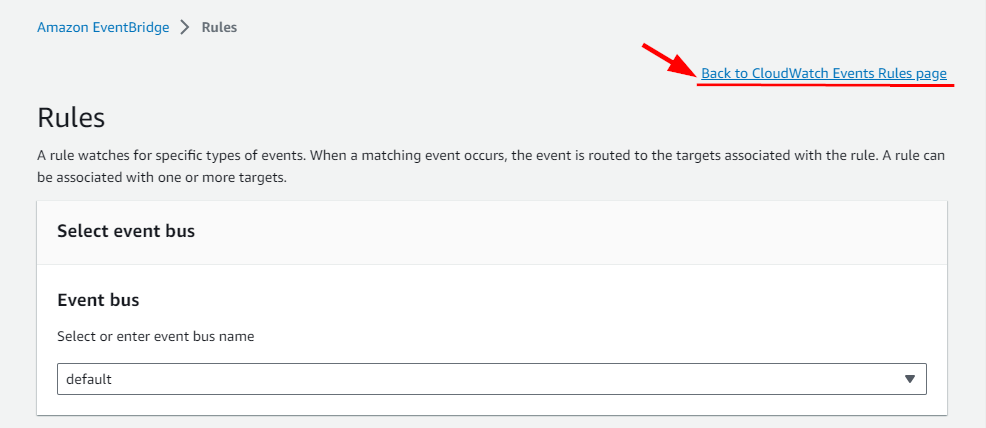
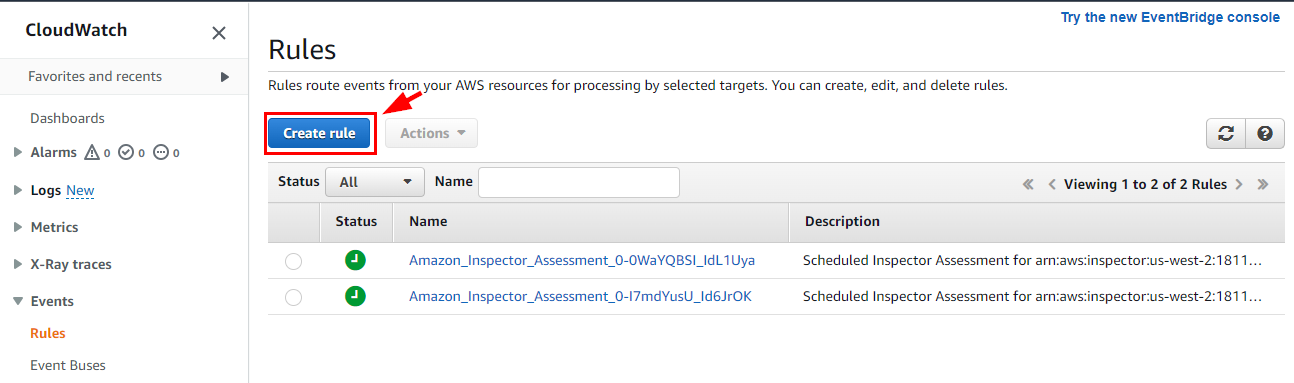
NB: you will be redirected to a page as shown below. click on Create rule.
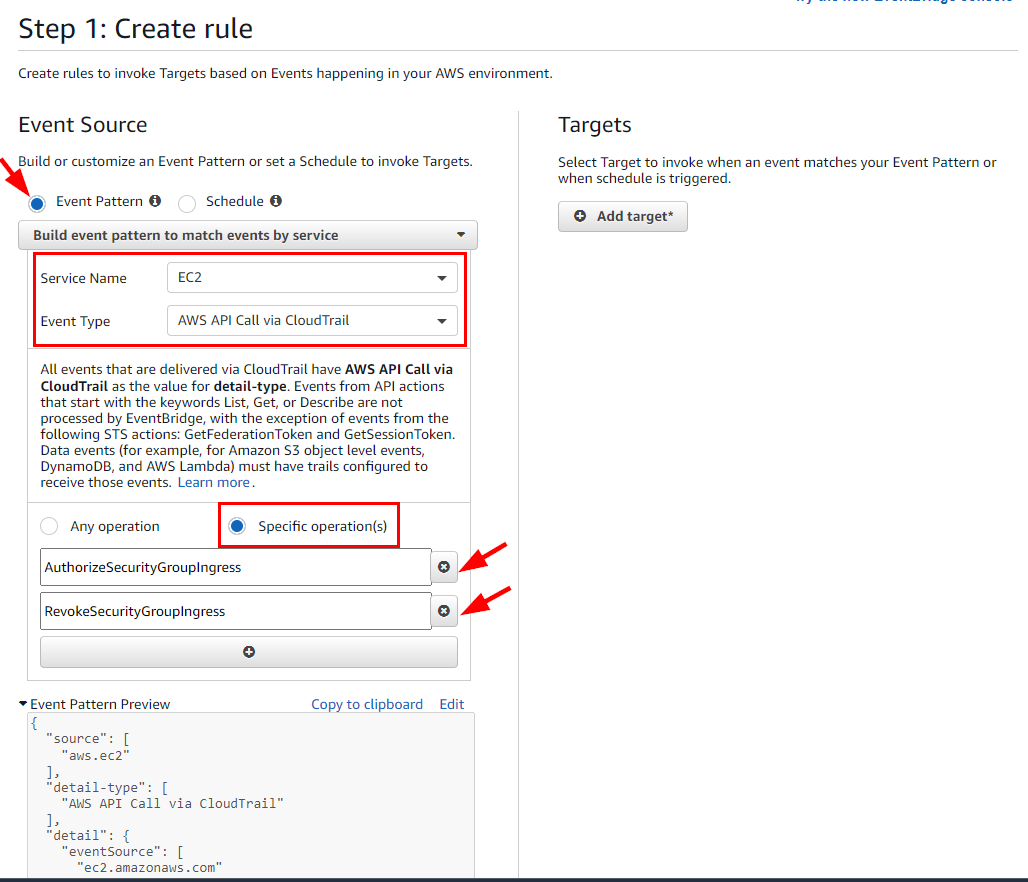
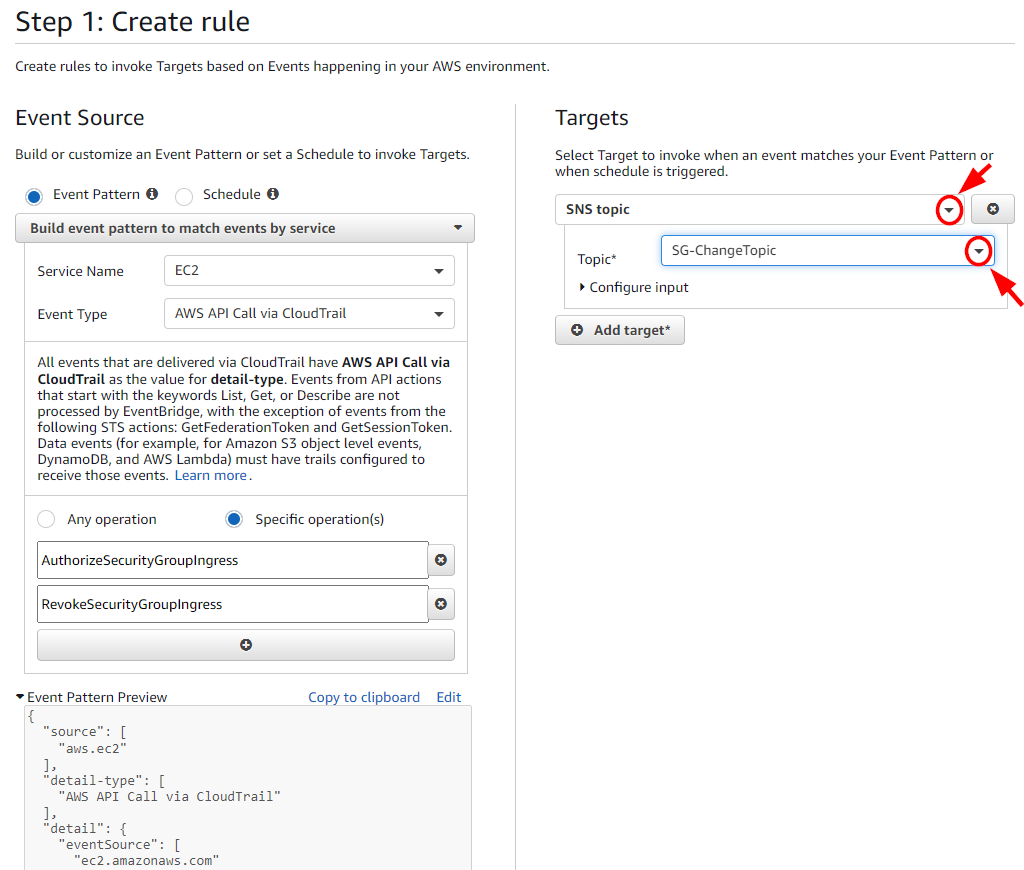
On the Step 1: Create rule page, create a rule with the following details:
Select Event pattern
Select from the drop-down Service Name as EC2
Select from the drop-down Event Type as AWS API Call Via CloudTrail
Select Specific Operations(s) and add the following:
Add AuthorizeSecurityGroupIngress event in the first text box. It helps notify any changes in a security inbound rule.
Add RevokeSecurityGroupIngress event in the second text box. It invokes a notification when anyone deletes the inbound rule.
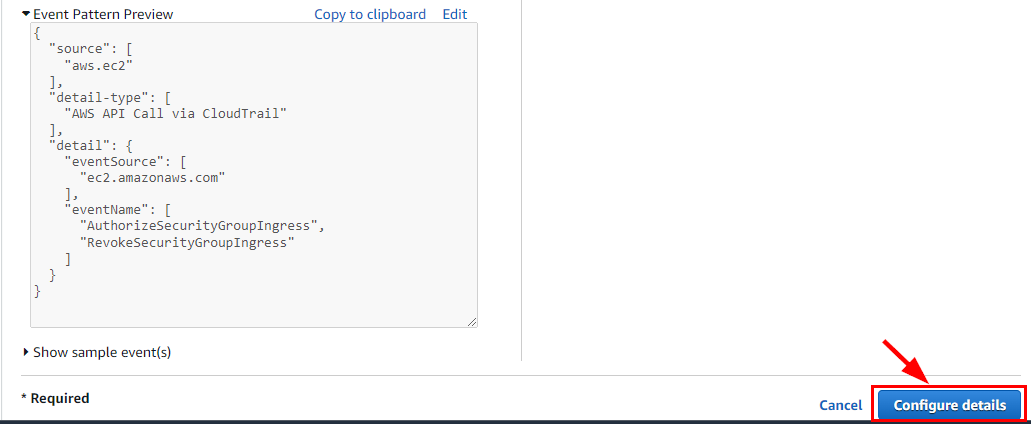
- In the Target section at the right-hand side of your screen, click on Add Target and select SNS topic from the dropdown. Provide SG-ChangeTopic as the topic name in the Topic field.
- Scroll down and click on Configure Details.
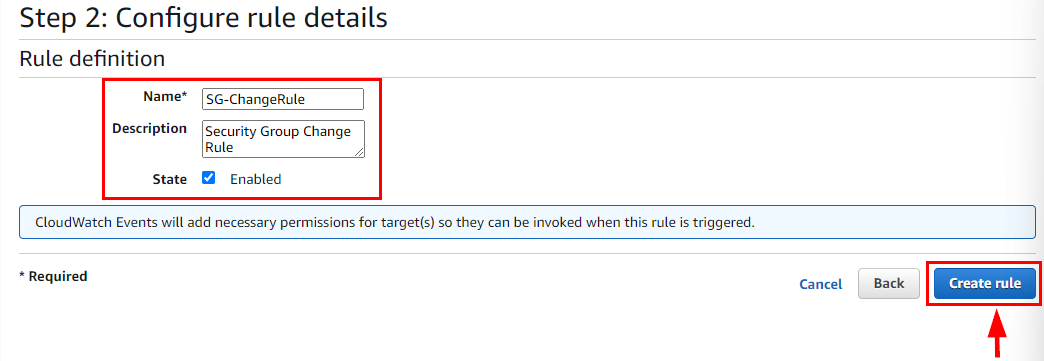
- In Step 2: Configure the rule details page, type SG-ChangeRule as the name and description, and then click on Create rule.
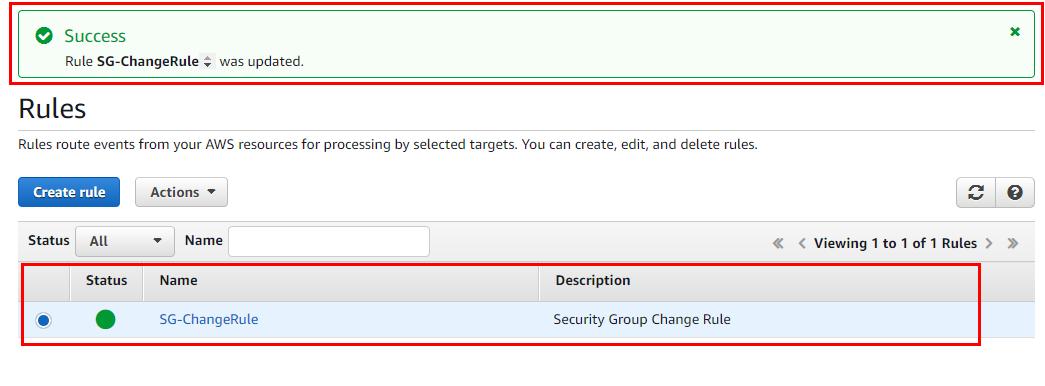
- Rule SG-ChangeRule is successfully created.
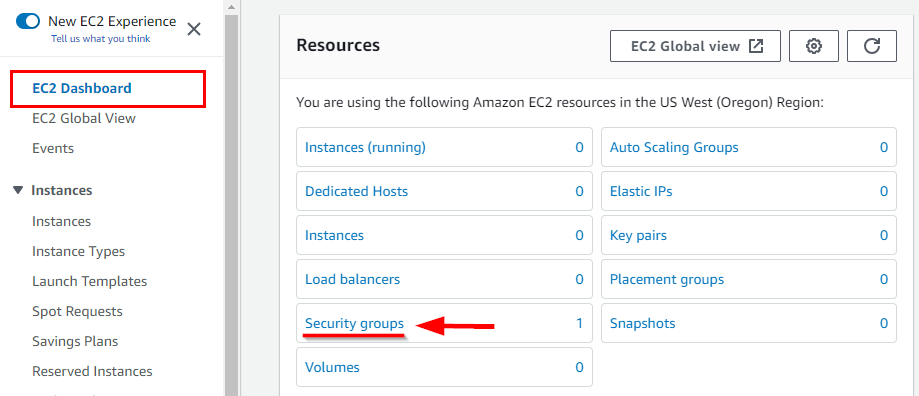
- Next, you will verify the notifications for changes in a security group. From the search box at the top of the console, search for EC2.

- On the EC2 Dashboard, click Security Groups under the Resources section.
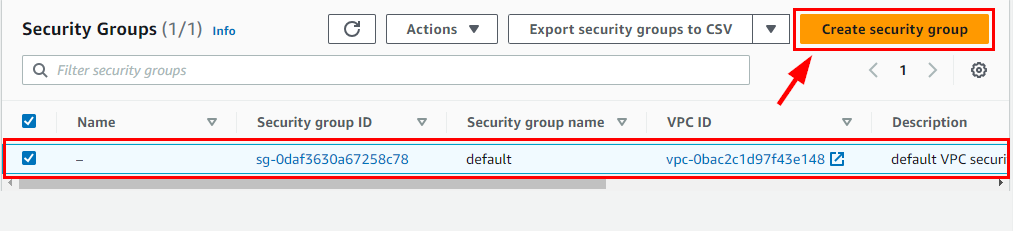
- On the Security Groups page, click on Create security group.
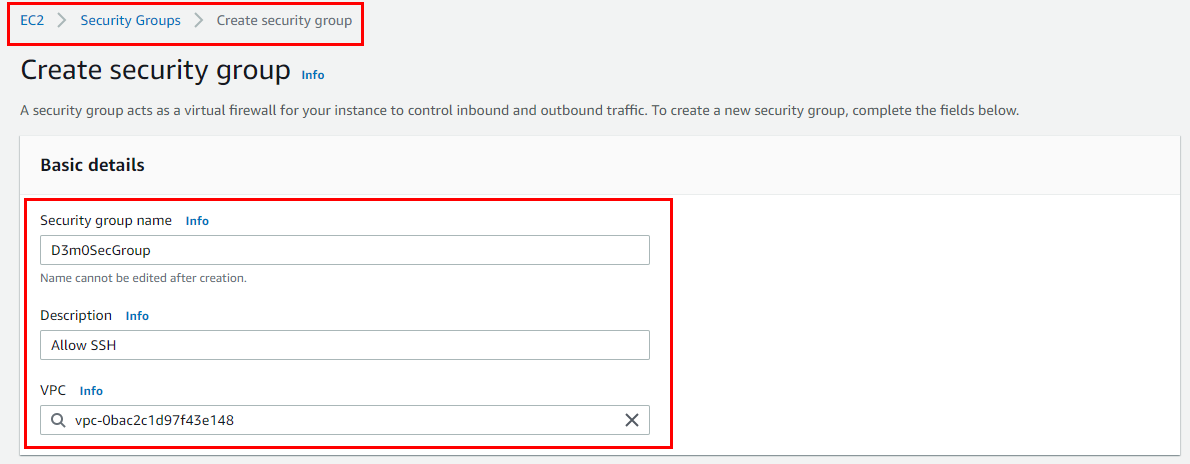
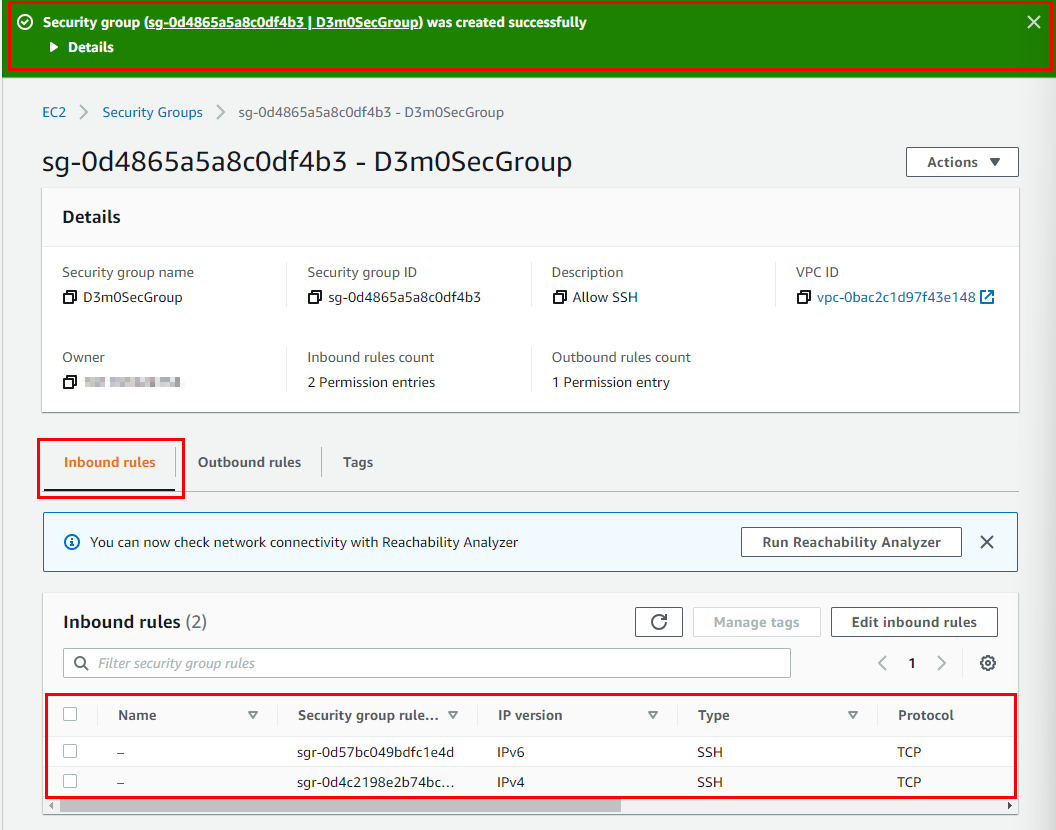
- Next, Fill in the Basic details with any name of your choice. (Here Security group name is D3m0SecGroup), and enter a description (Allow SSH)
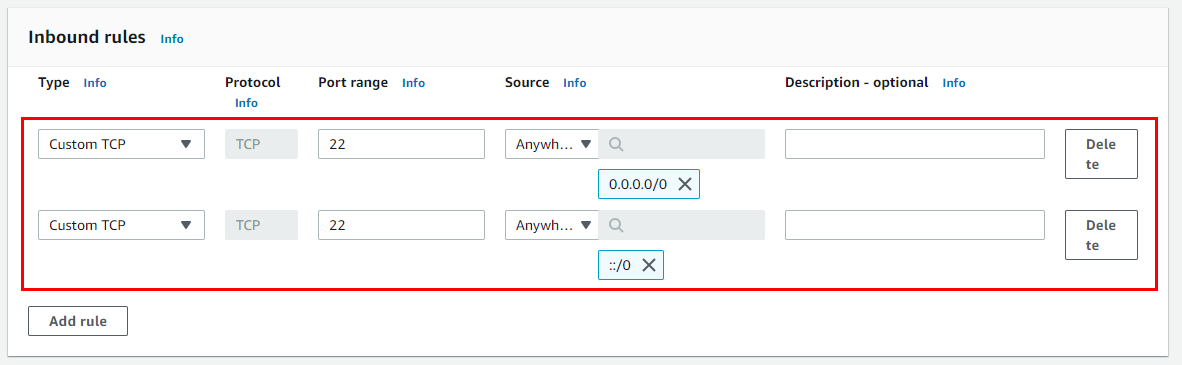
- Scroll down to the Inbound rules section and click Add rule. The inbound rule allows you to add port 22. For the new rule, add the Port range as 22 and the Source as Anywhere IPv4. Then click Add Rule again. Add Port range as 22 and Source as Anywhere IPv6.

- Next, Add Tags - optional, scroll down and click on Create Security Group.

- The security group is successfully created with the new inbound rule.
- Next, verify the event occurrence notification in your email inbox. Switch to the email tab and look for an email with AWS Notification Message as the subject, as shown in the screenshot below.

- Open the AWS Notification Message email to see the event details in JSON format.

This way, a cloud security engineer can configure AWS CloudTrail, CloudWatch, and SNS to get notifications for changes in any resources.
Deleting Created Resources
Please make sure to delete, shut down, or terminate all resources created and utilized in this lab to avoid incurring any charges.
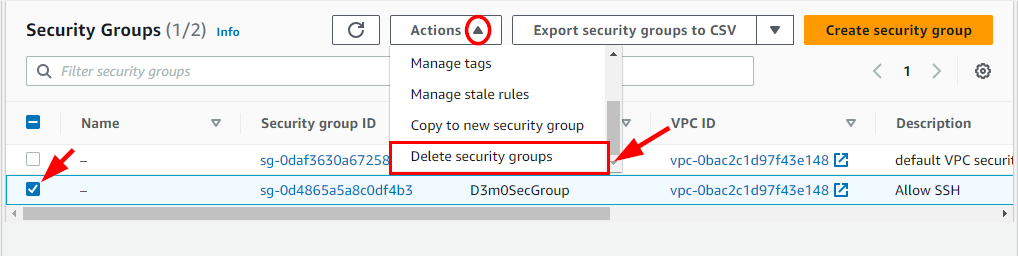
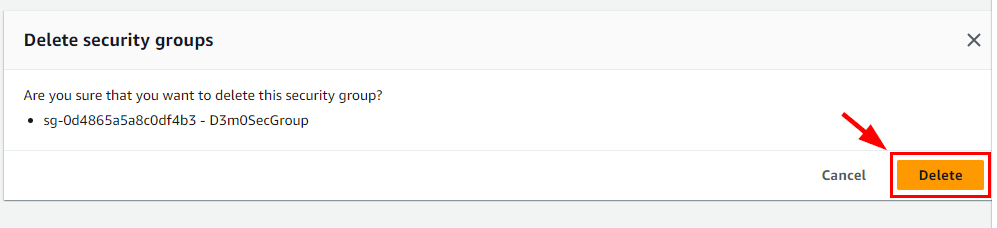
- To delete Security Groups created in this lab, navigate to Security Groups under the EC2 console and select the checkbox for the Security Group created in this lab (here, D3m0SecGroup). Select the Actions dropdown and click on Delete security groups. In the pop-up window, click on the Delete button.
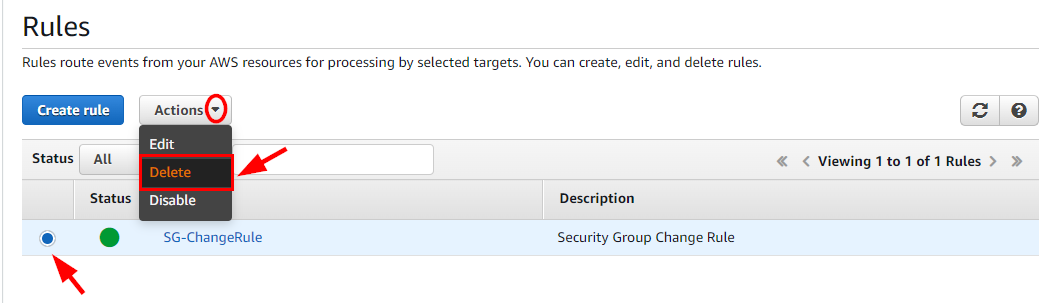
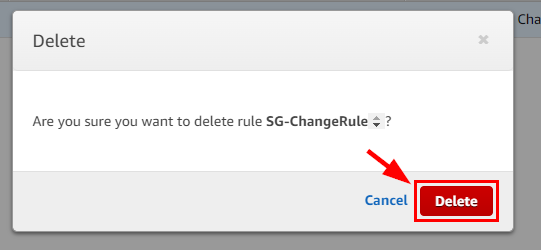
- Navigate to the Rules under Events in the CloudWatch console and select the checkbox for the instance created in this lab (here, SG-ChangeRule). Select the Actions dropdown and click on Delete. In the pop-up window, click on the Delete button.
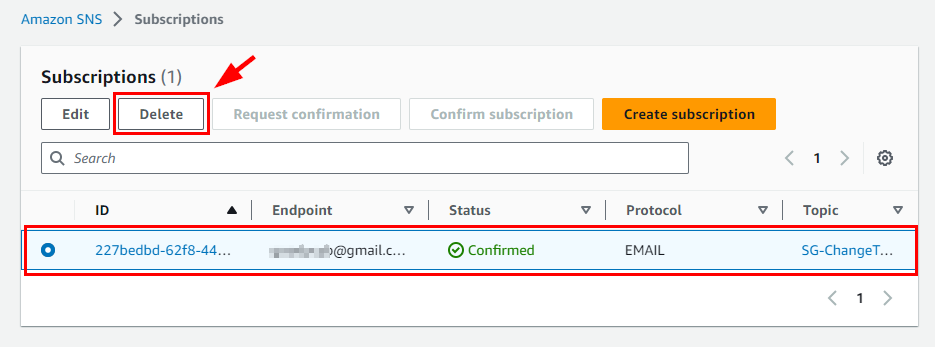
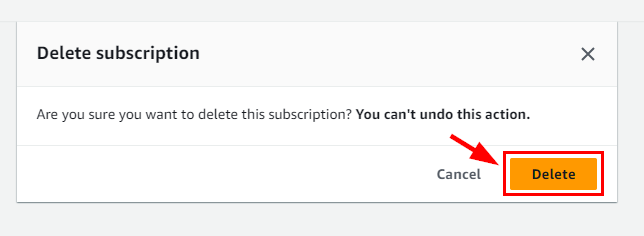
- Navigate to the Subscriptions under Amazon SNS and select the checkbox for the subscription created in this lab. Click on the Delete button. In the pop-up window, click on the Delete button.
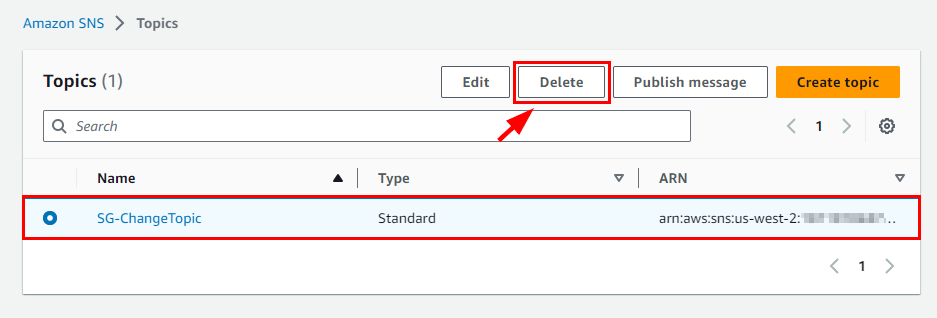
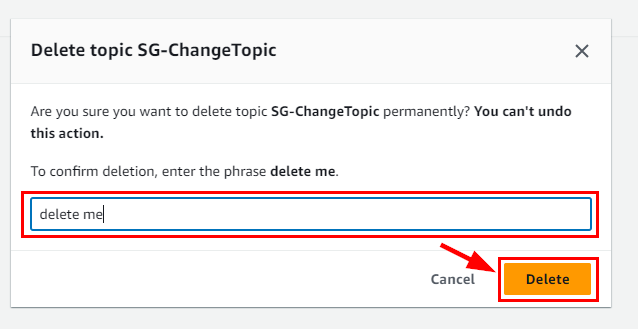
- Navigate to the Topics under Amazon SNS and select the checkbox for the instance created in this lab (here, SG-ChangeTopic). Click on the Delete button. In the pop-up window, enter delete me and click on the Delete button.
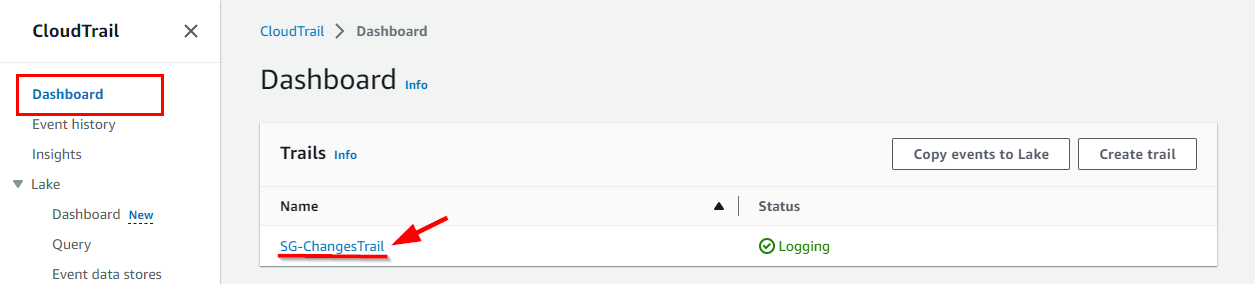
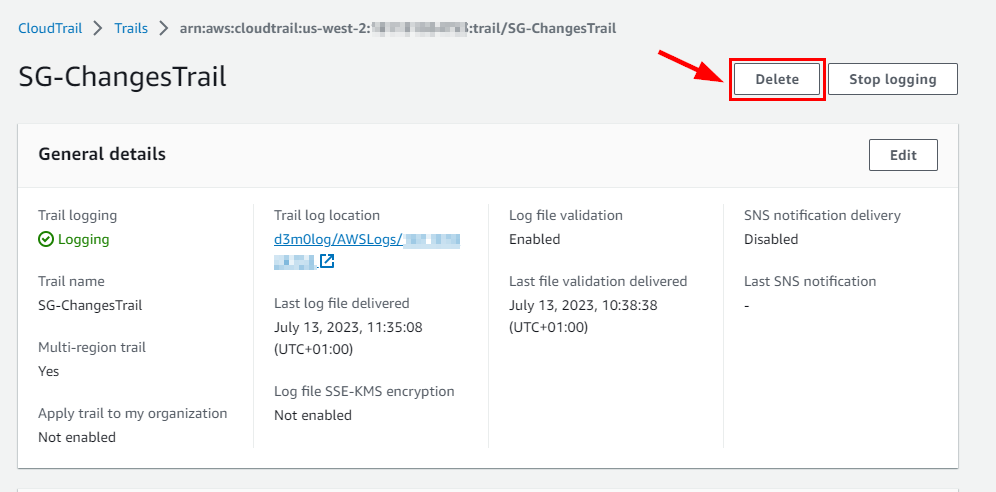
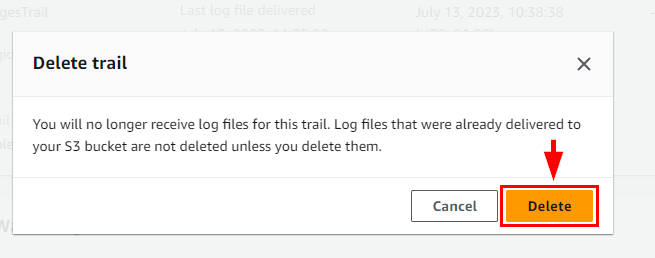
- Navigate to CloudTrail Dashboard and select the instance created in this lab (here, SG-ChangesTrail). Click on the Delete button. In the pop-up window, click on the Delete button.
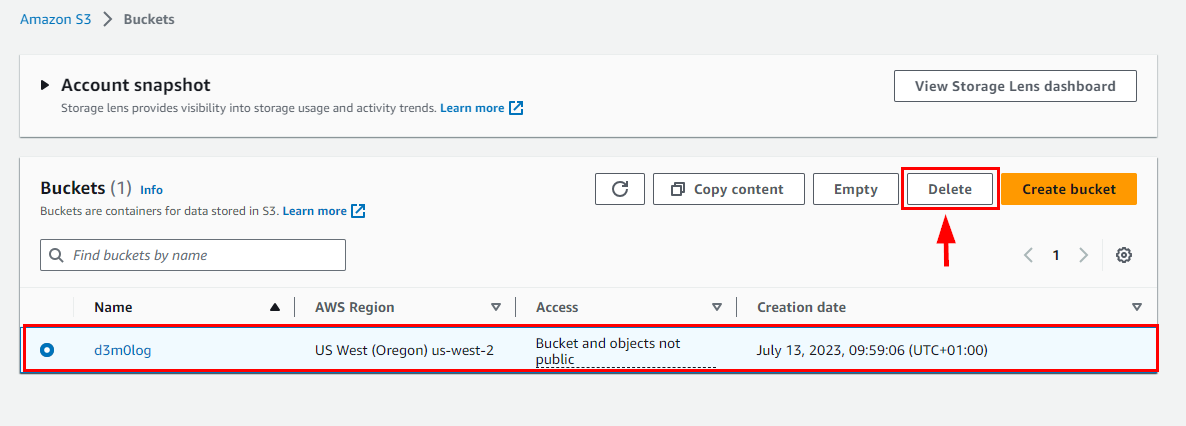
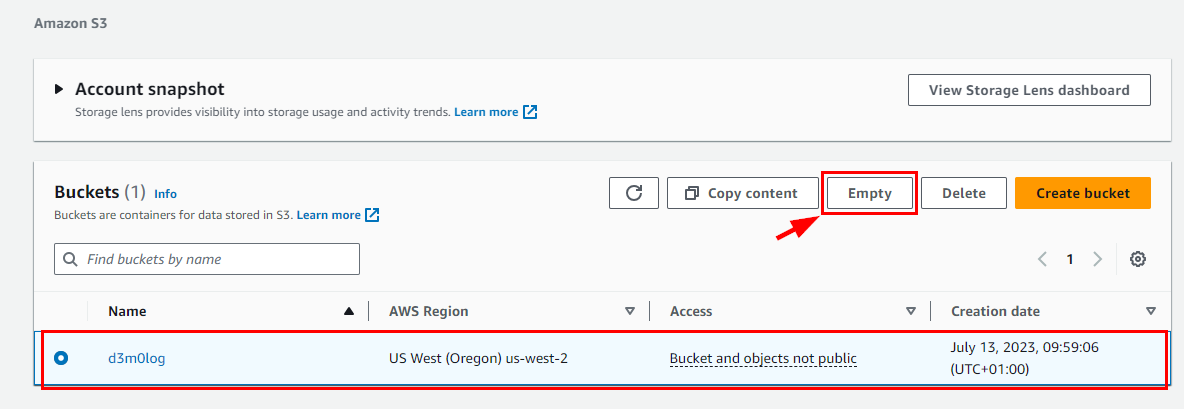
- Navigate to the S3 bucket to delete the Log file. select the S3 log name and click on Empty then type permanently delete to confirm the deletion*. Click *Empty.

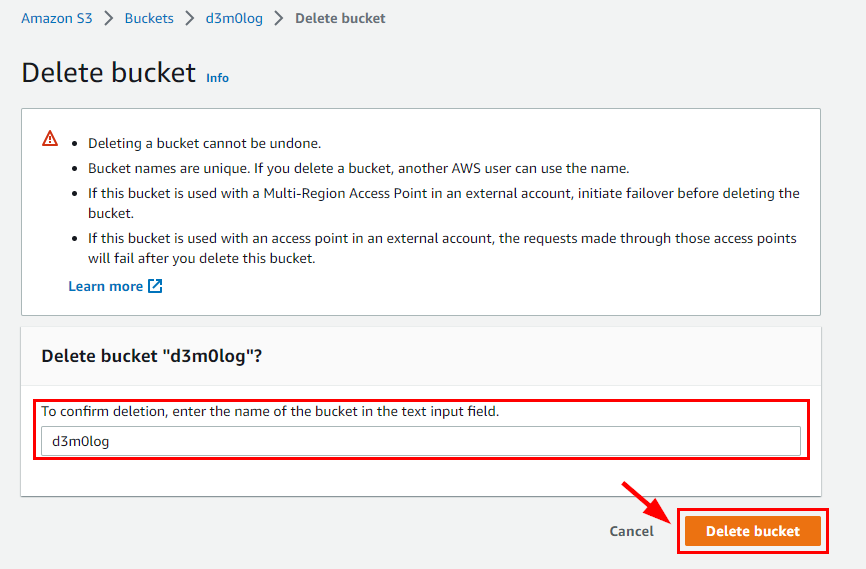
- Next, navigate back to the list of buckets select the bucket name (here, d3m0log) and click on Delete. In the Delete Bucket page, enter the name of the bucket to confirm deletion, then click on Delete Bucket.